By far the best recipe I've tried! I started making these granola bars as a healthy snack that is high in fibre and is free from trans fats and refined gunk. Turns out with time I became so advanced at making these yummy bars, that they may well become your next healthy dessert alternative! Here's the ingredients list and the method that will make you say: "Mmmmm!"...
I'll also share with you a secret how to make your granola bars either crunchy or soft and chewy depending on you like.
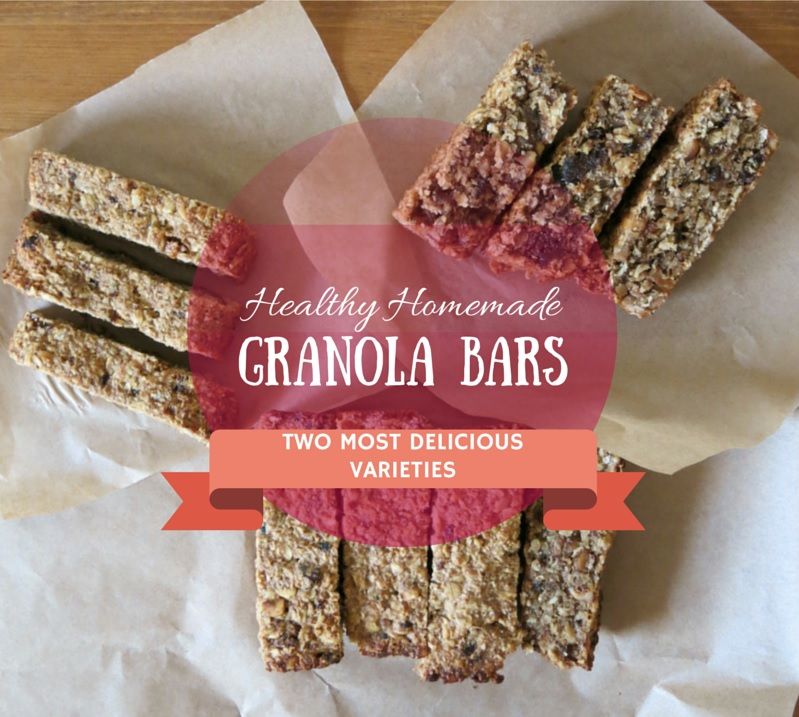
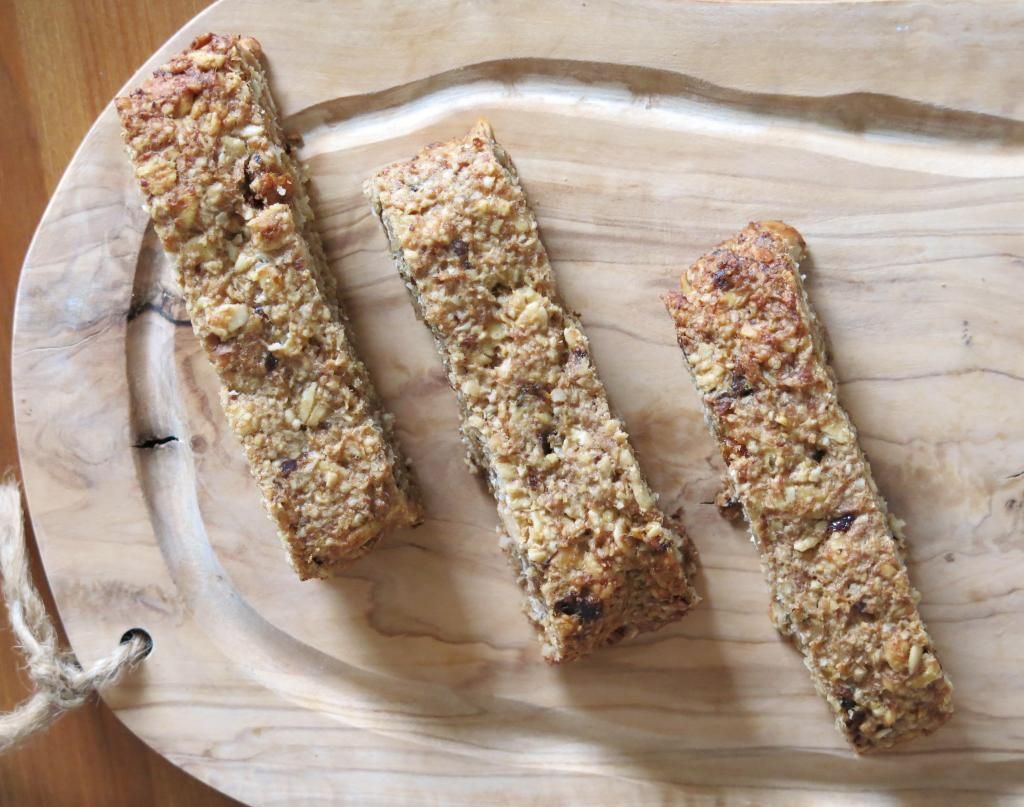
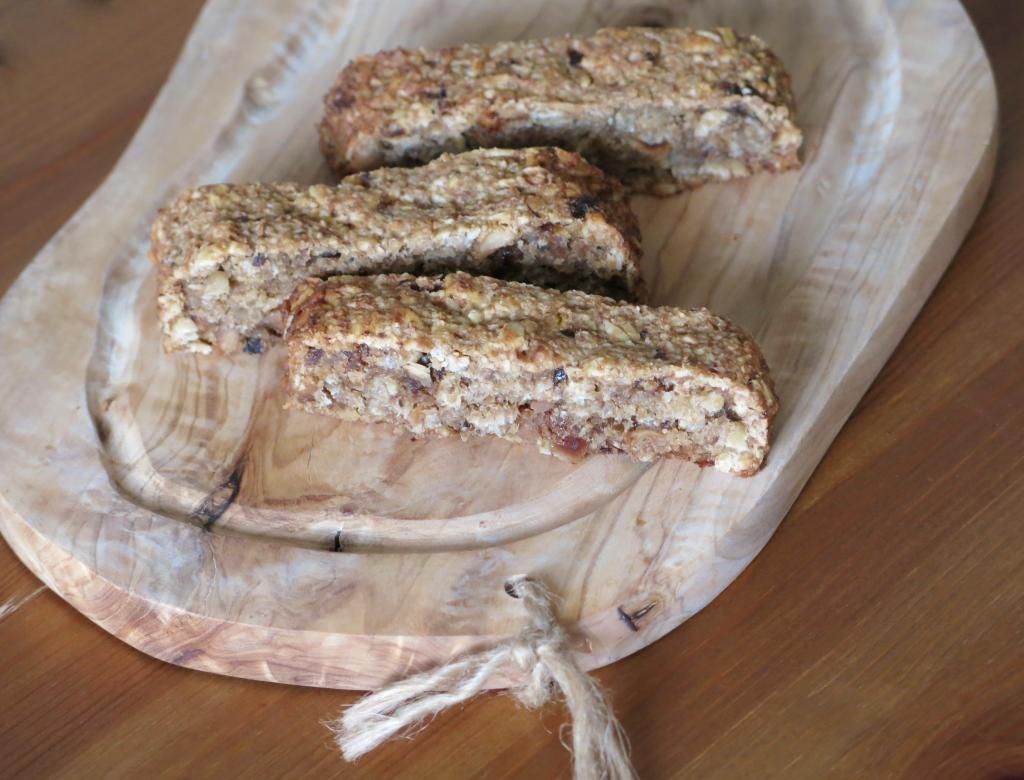
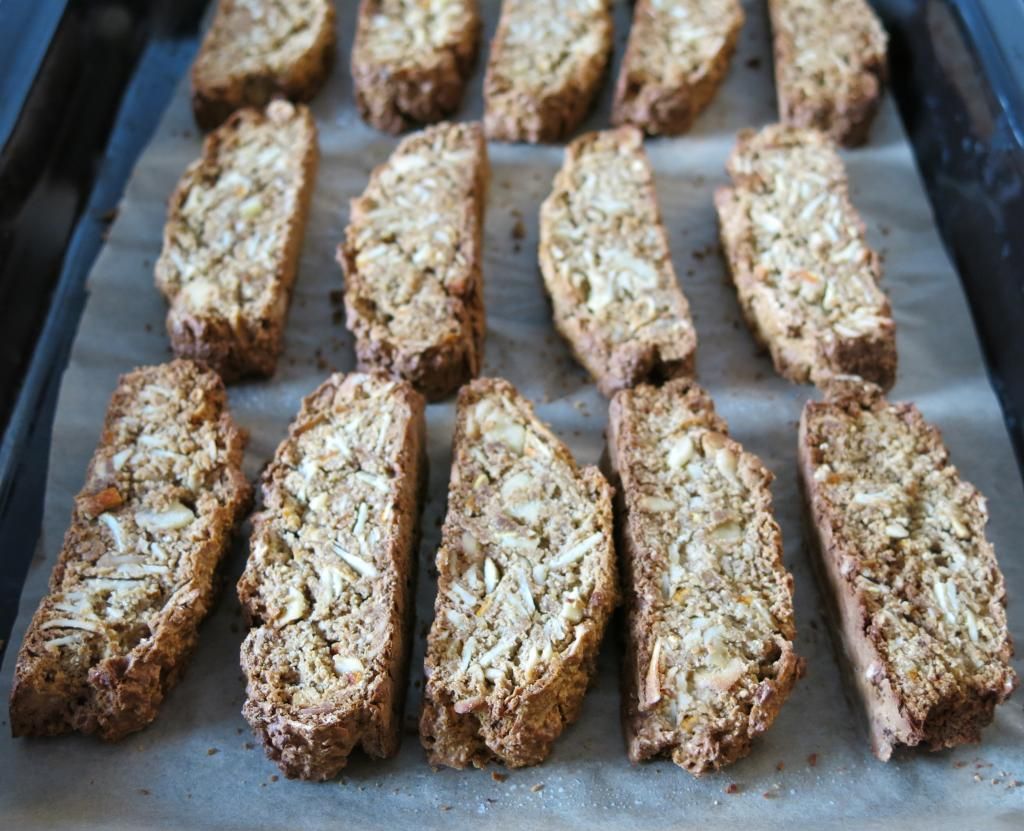
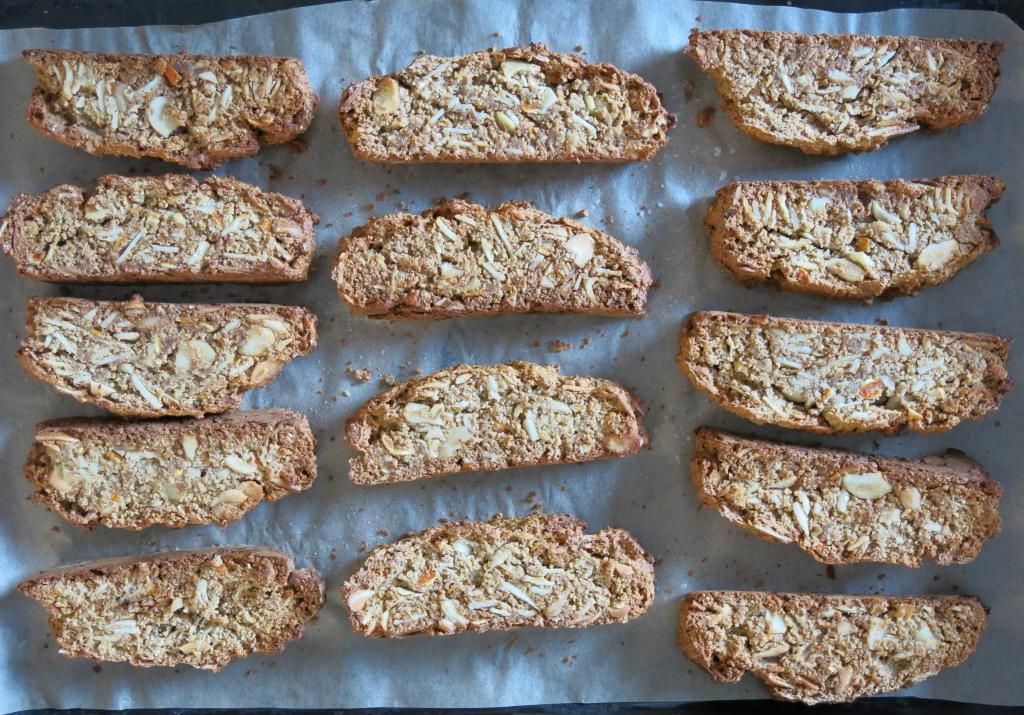
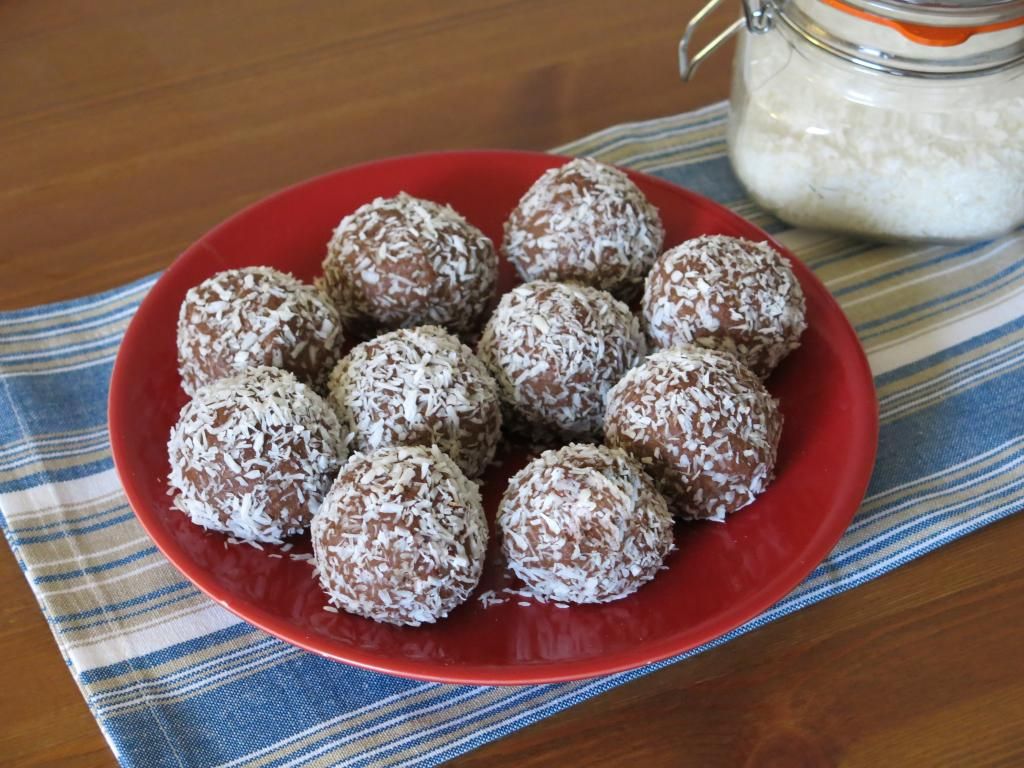
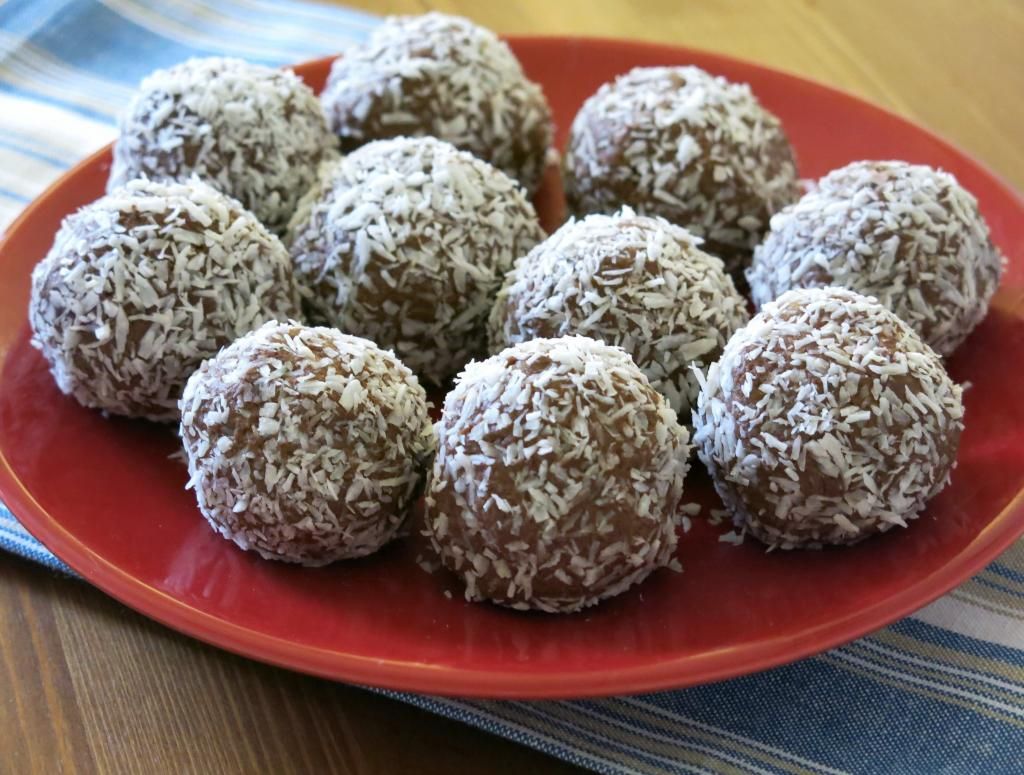
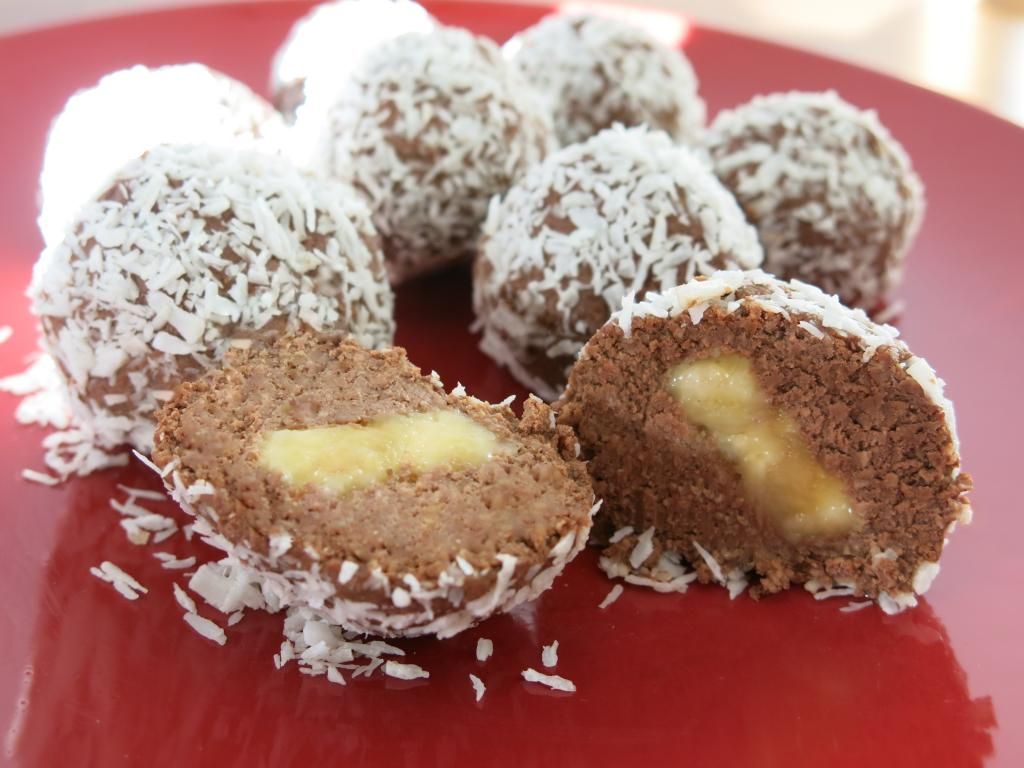
PHOTOS OF DRY & CRUNCHY GRANOLA BARS
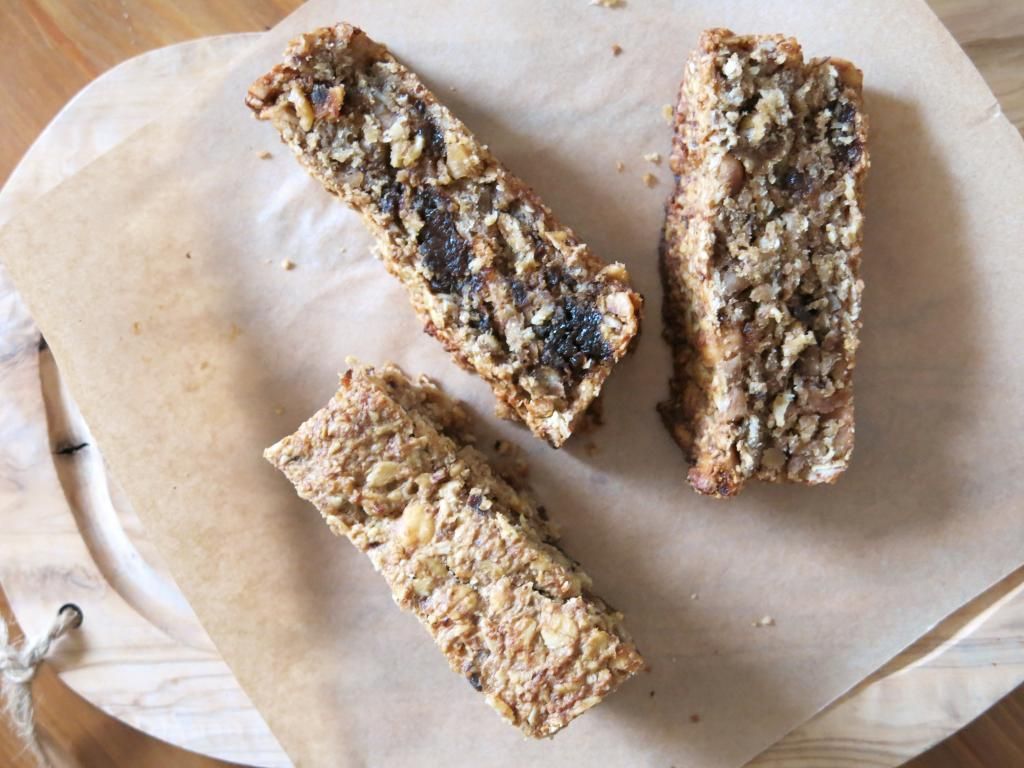
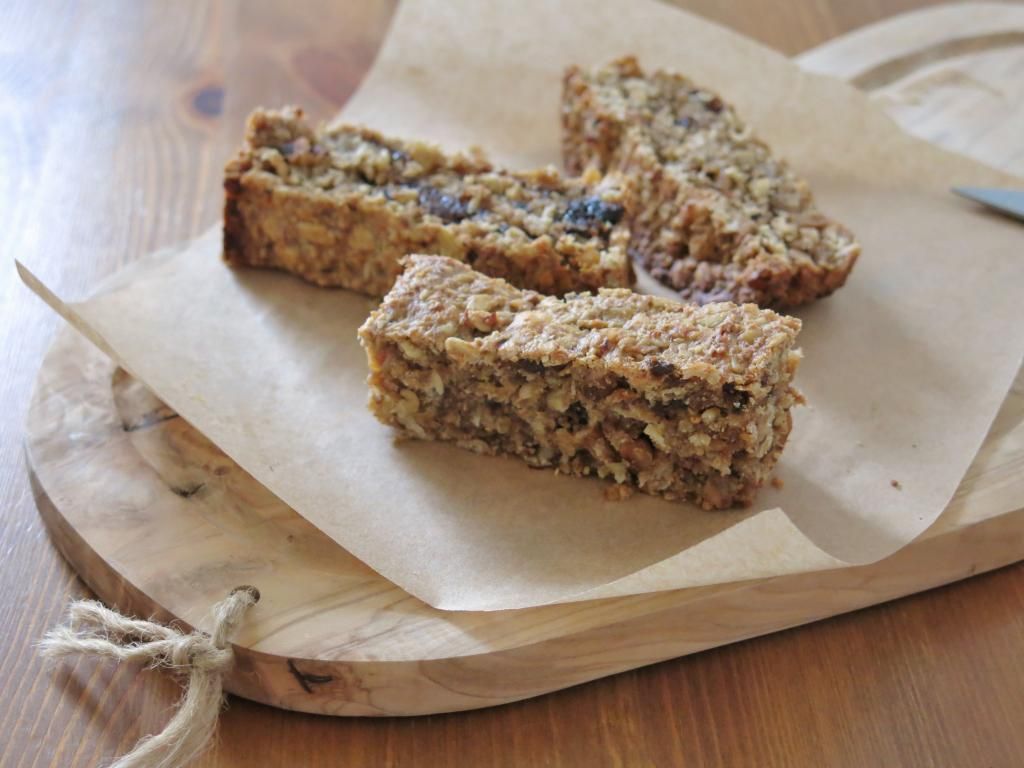
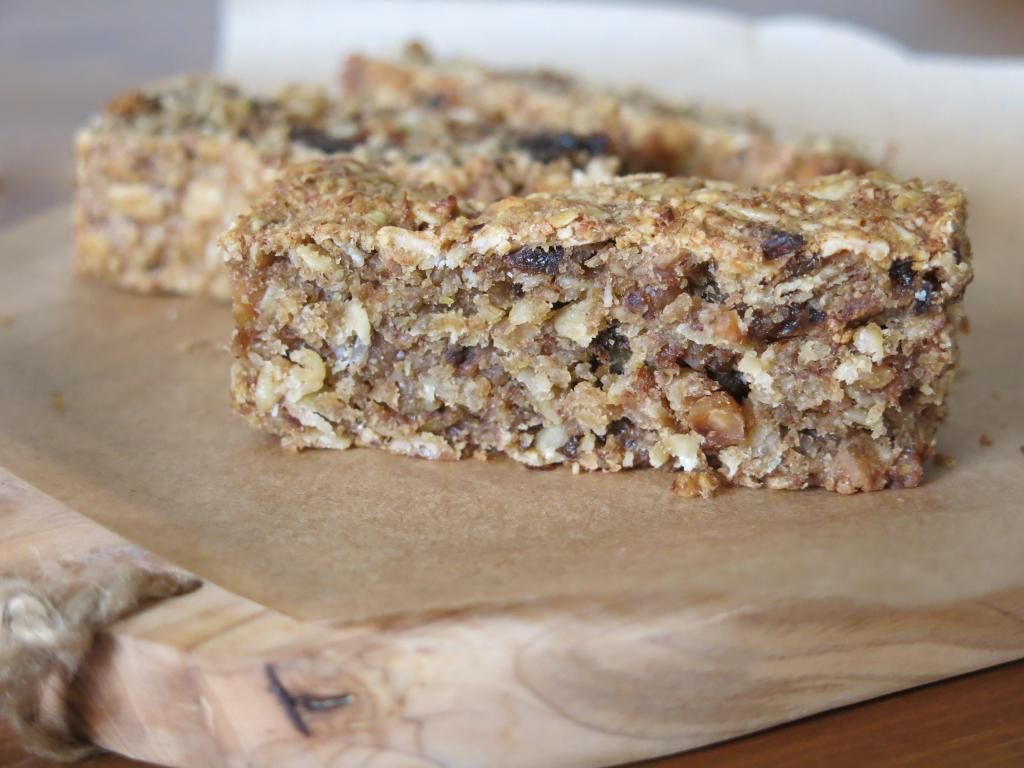
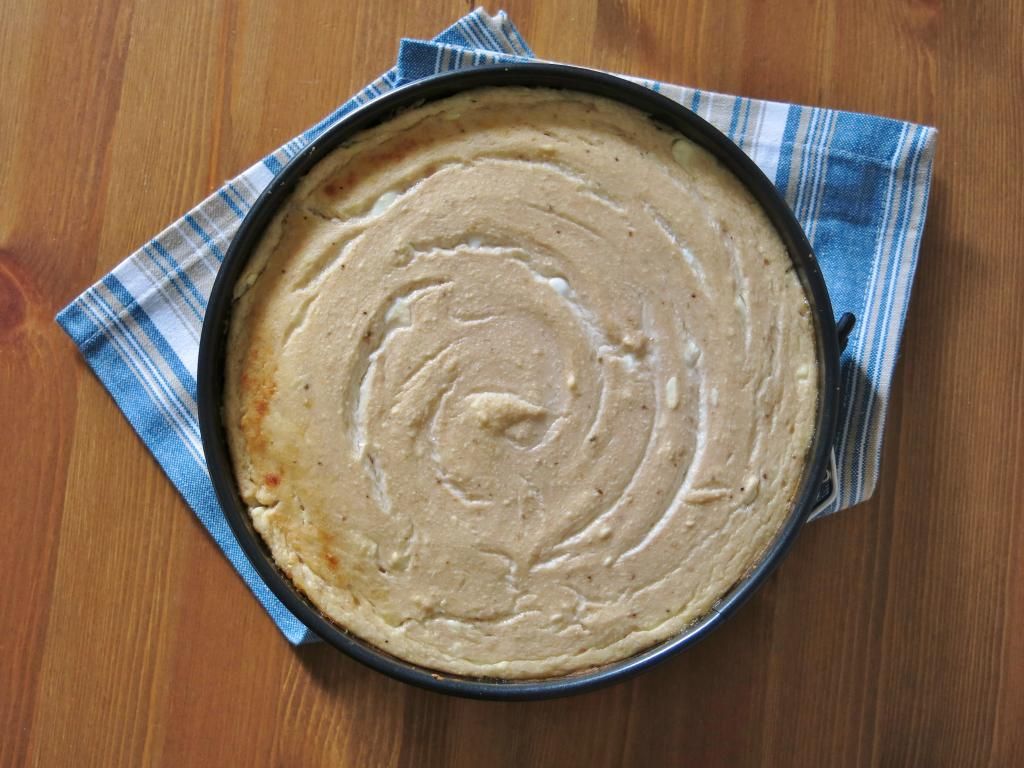
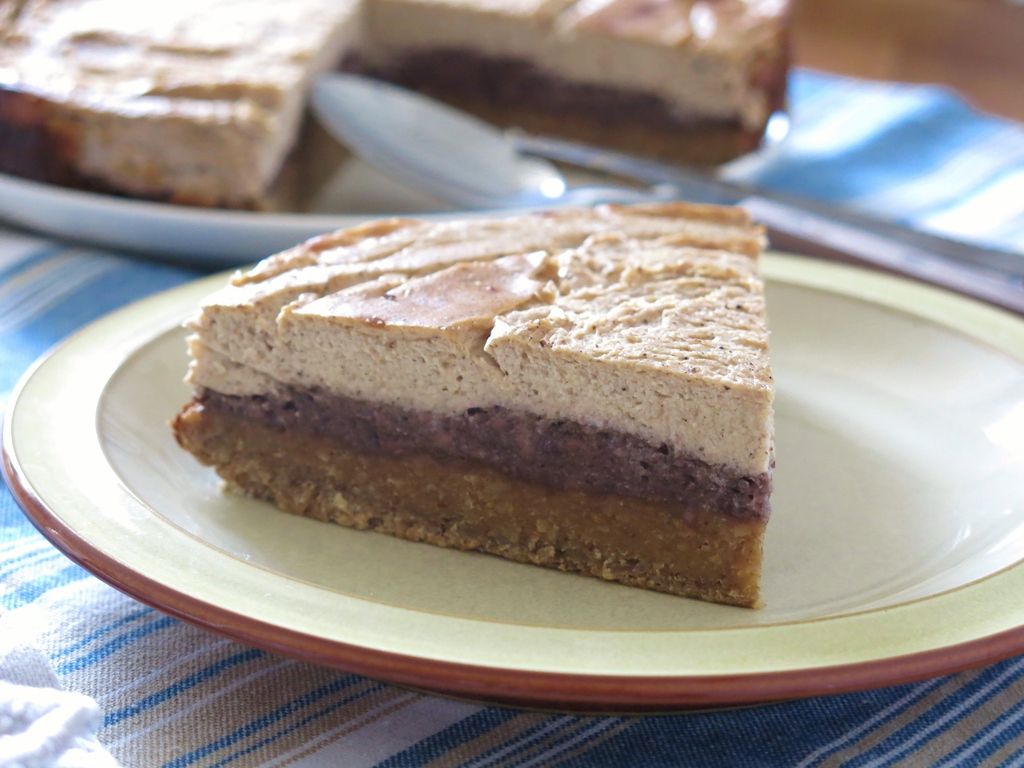
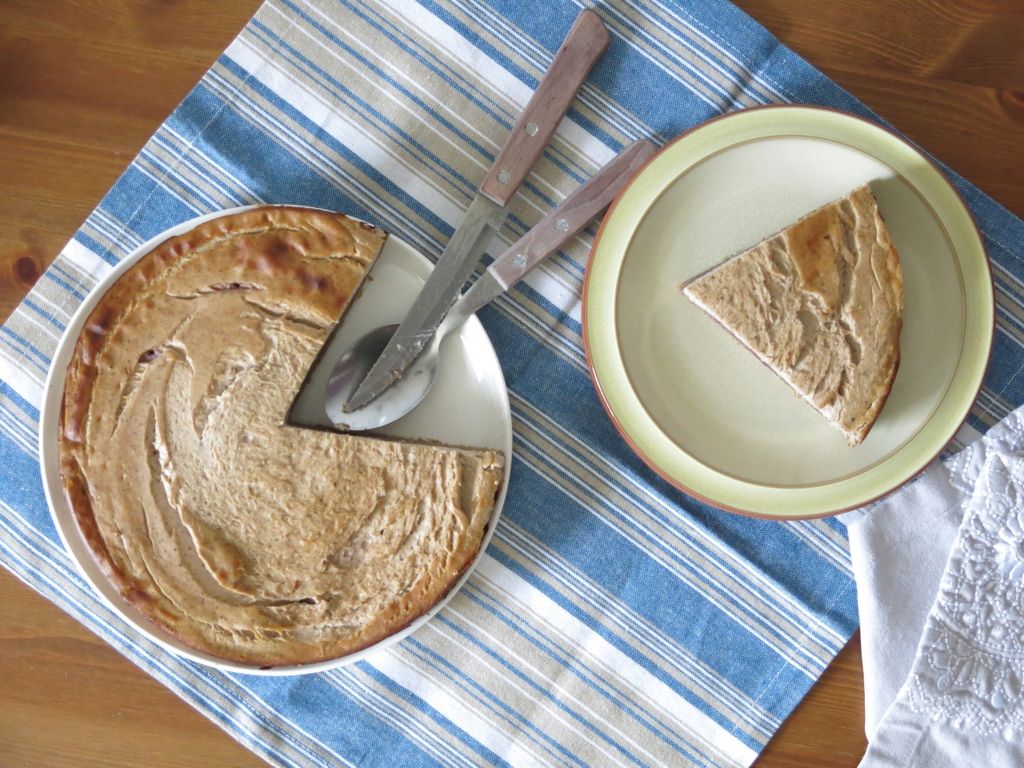
PHOTOS OF SOFT & CHEWY GRANOLA BARS
INGREDIENTS:
(Makes approx. 16 bars)
♥
♥ 70g organic unsalted butter (or 3 tablespoons of coconut butter for
vegan version)
♥ 115g organic rolled oats ground to a flour texture
♥ 150g organic whole rolled oats
♥ 100g whole hazelnuts
♥ 260g mashed ripe bananas (roughly equals 2 medium and 1 large bananas)
♥ 100g organic prunes and dried apricots
♥ 30g honey or 50g brown sugar (or 1,5 tbsp of stevia for a version
much lower in sugar)
♥ 1/4 tsp vanilla powder
♥ 1 tsp ground cinnamon
1 tsp vanilla powder
DIRECTIONS:
1. Preheat the oven to 180°C degrees.
2. In a chopper or food processor blitz 115g of rolled oats until flour texture. Transfer ground oats to a large bowl, add ground vanilla, cinnamon and stevia. (I normally go for stevia to keep my blood sugar level under control). Take time to mix everything well.
3. Add chopped dried fruit, crushed nuts and whole rolled oats. Mix well.
4. In a food processor, chopper or blender puree bananas with coconut butter if you're using one.
5. If you're using dairy butter, then at this point put butter onto an oven-safe bowl or baking tray and place it into the oven for approximately 2 minutes until the butter melts.
(skip this step if you are using coconut butter)
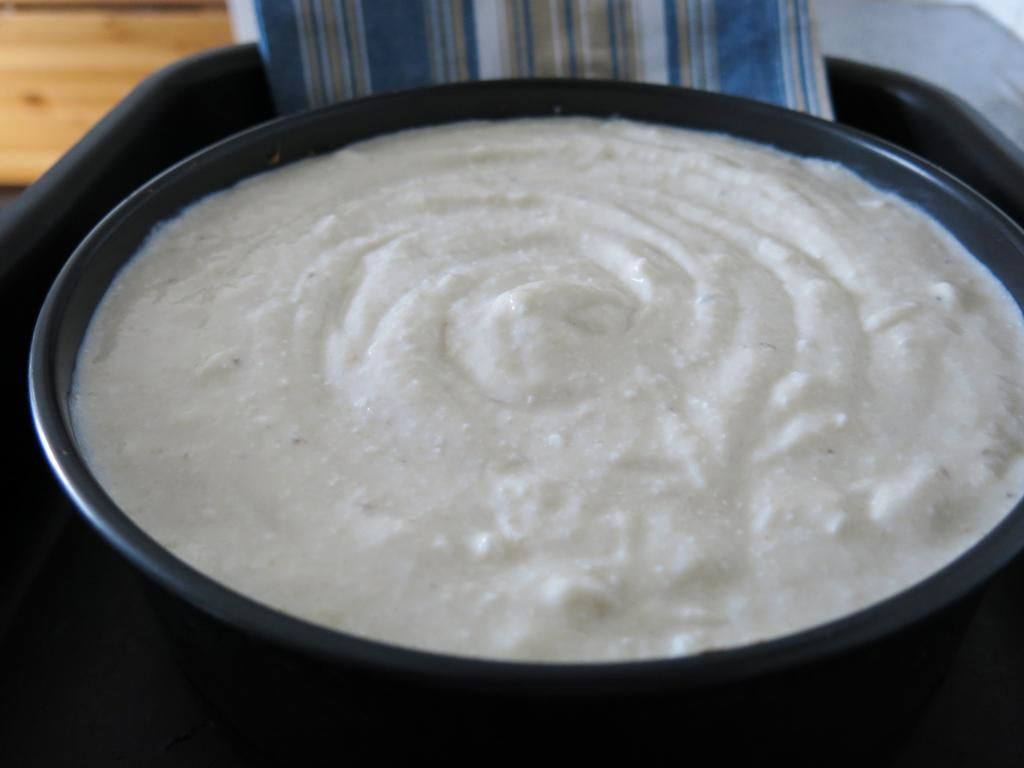
6. While your butter is melting, take a large spoon and start mixing banana puree with the dry ingredients in your large bowl.
7. If using dairy butter, take out the melted butter and stir it in your mixture. Stir everything thoroughly.
8. Time to choose your granola texture!
FOR DRY & CRUNCHY GRANOLA BARS:
If you want your granola bars to be crunchy, take non-stick baking paper and line a baking tray with it. Transfer the mixture onto the baking paper and with your clean hands form a log. Mine is usually about 21 cm long and 9,5 cm wide and 2,5 cm high. But you can make it as long, wide and thick as you like. After all these are your bars! ;)
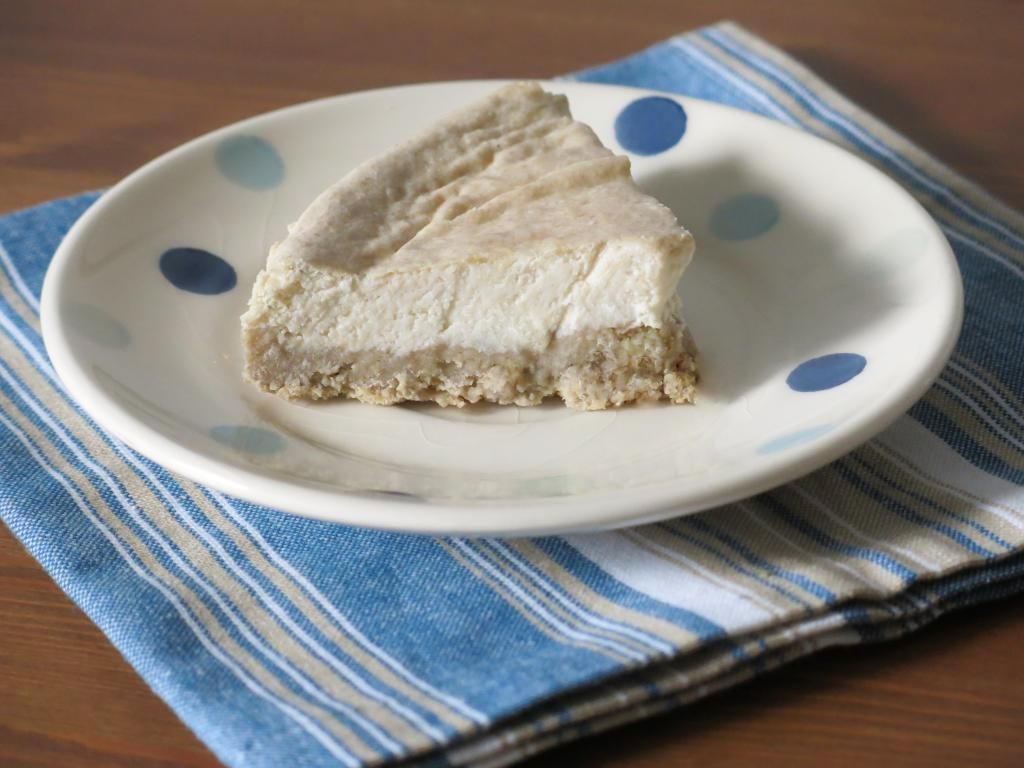
FOR SOFT & CHEWY GRANOLA BARS:
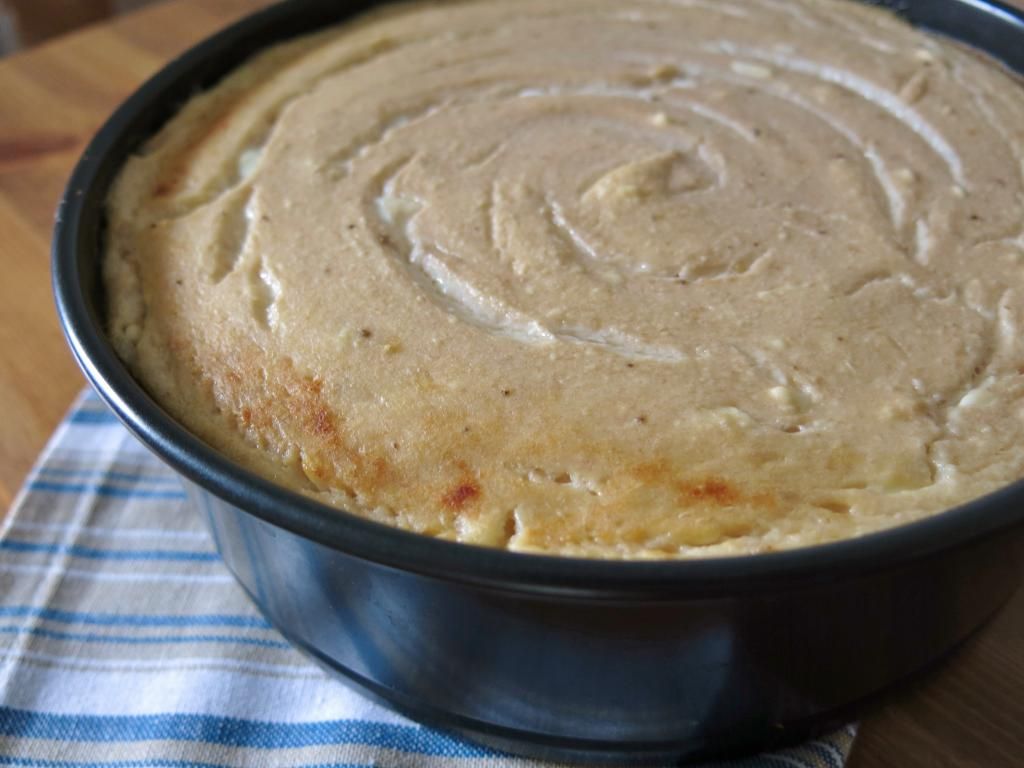
If you want your granola to be almost like a pie, take a silicone bread loaf mould, transfer the mixture into it and even out the top with a back of a tablespoon.
9. Bake for 20-25 minutes until light golden. If you prefer
DRY & CRUNCHY granola bars, bake for 30 minutes.
10.
FOR DRY & CRUNCHY GRANOLA BARS:
Take your log out of the oven and while it's on the tray cut it into bars using a sharp knife. Leave to cool before removing.
FOR SOFT & CHEWY GRANOLA BARS:
Take out your bread mould and allow to cool on baking or greaseproof paper for at least 15 minutes. Transfer onto a chopping board
and using a sharp knife cut into bars.
11. For longer life, store granola bars refrigerated in an airtight container.
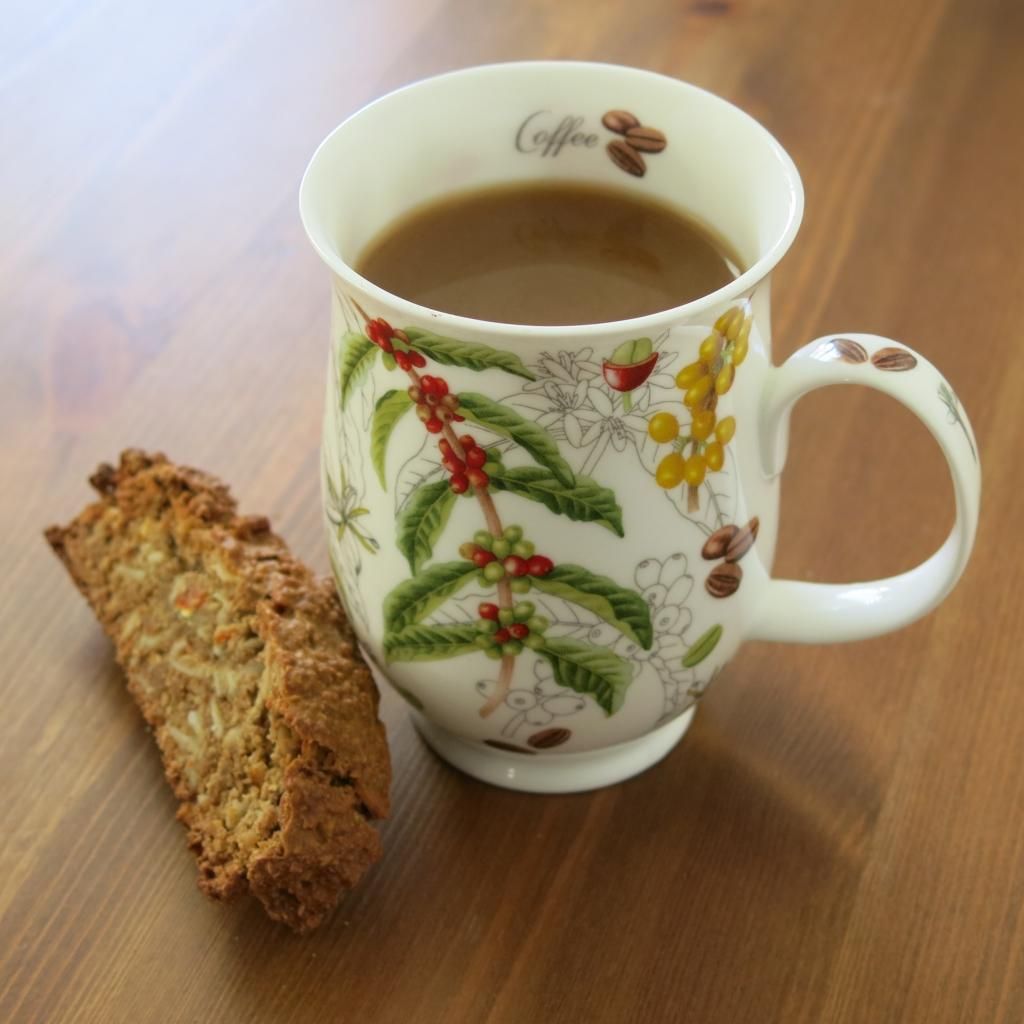
ENJOY! xx
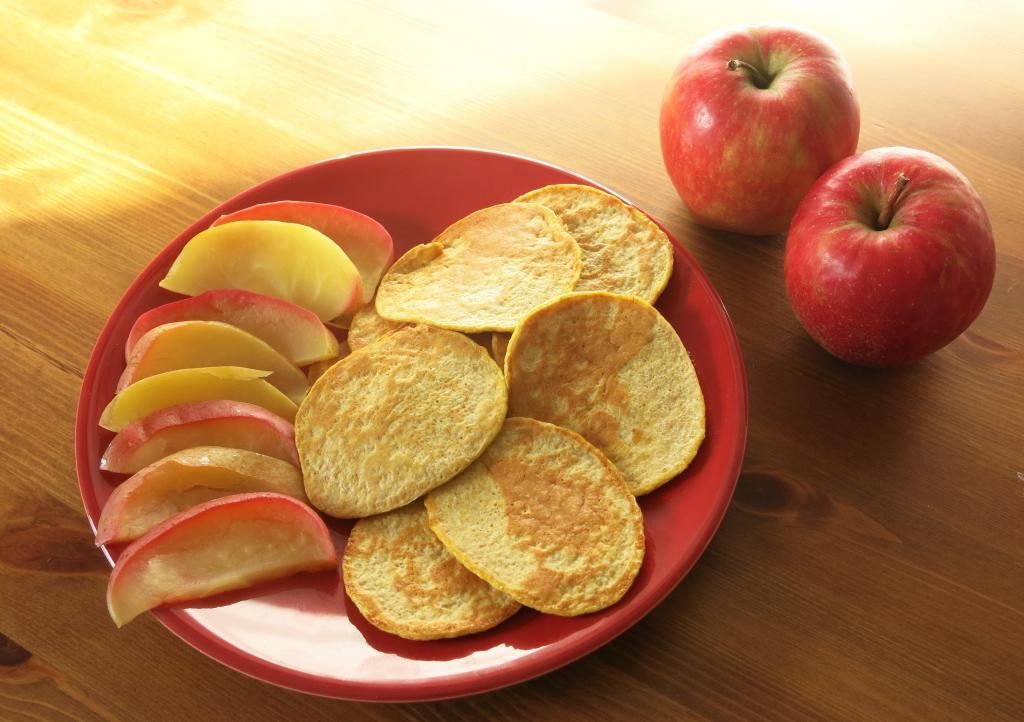
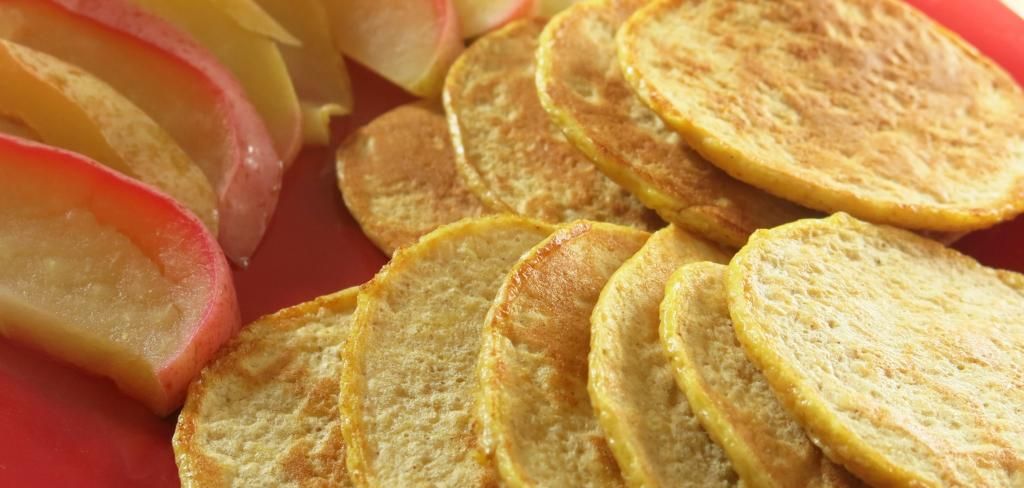
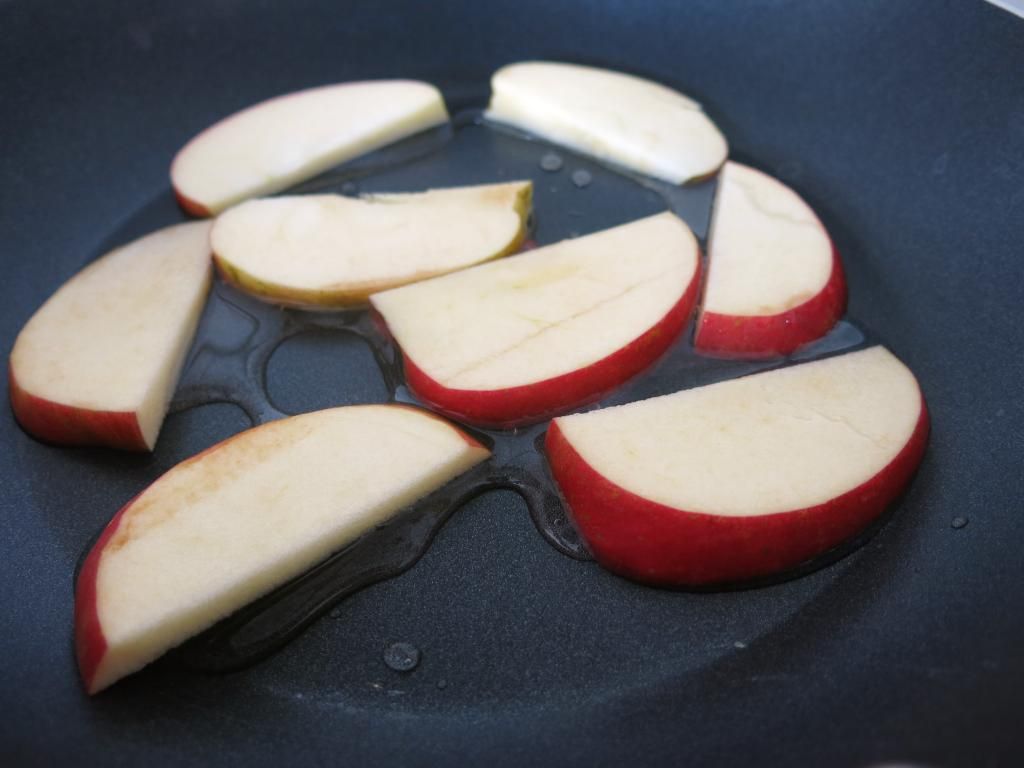
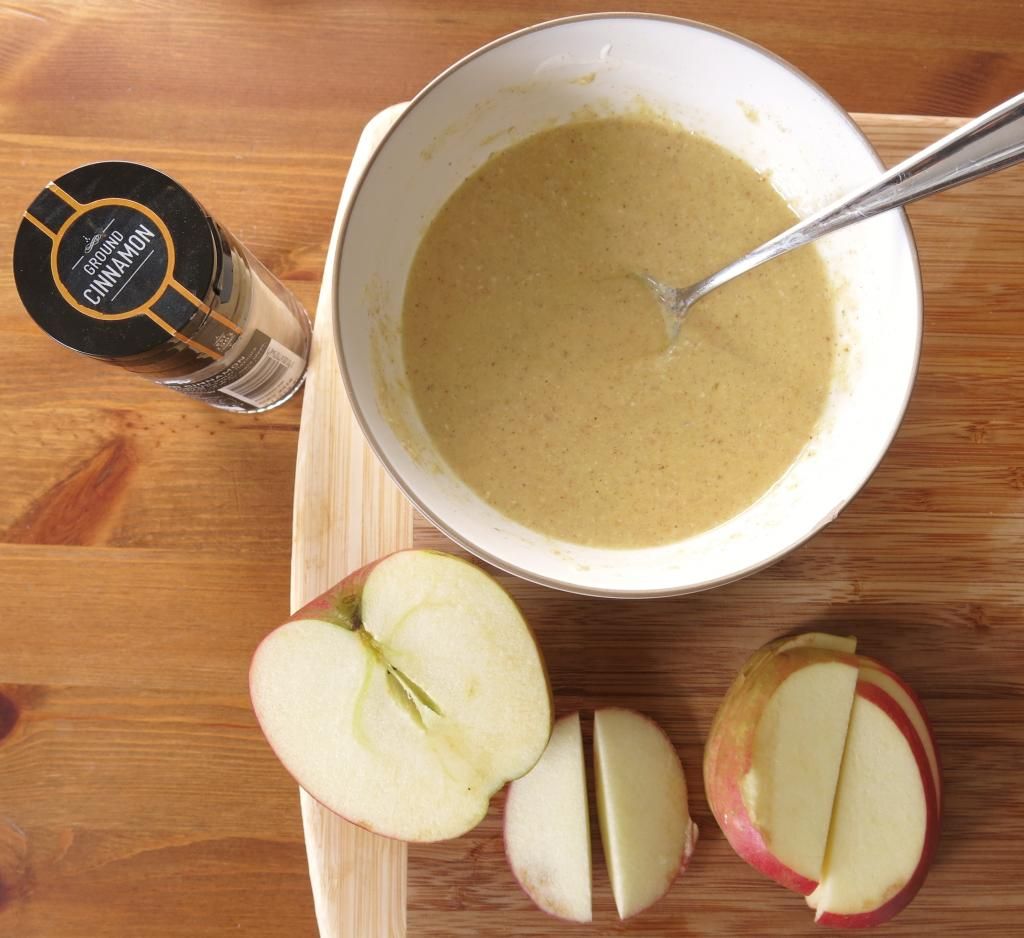
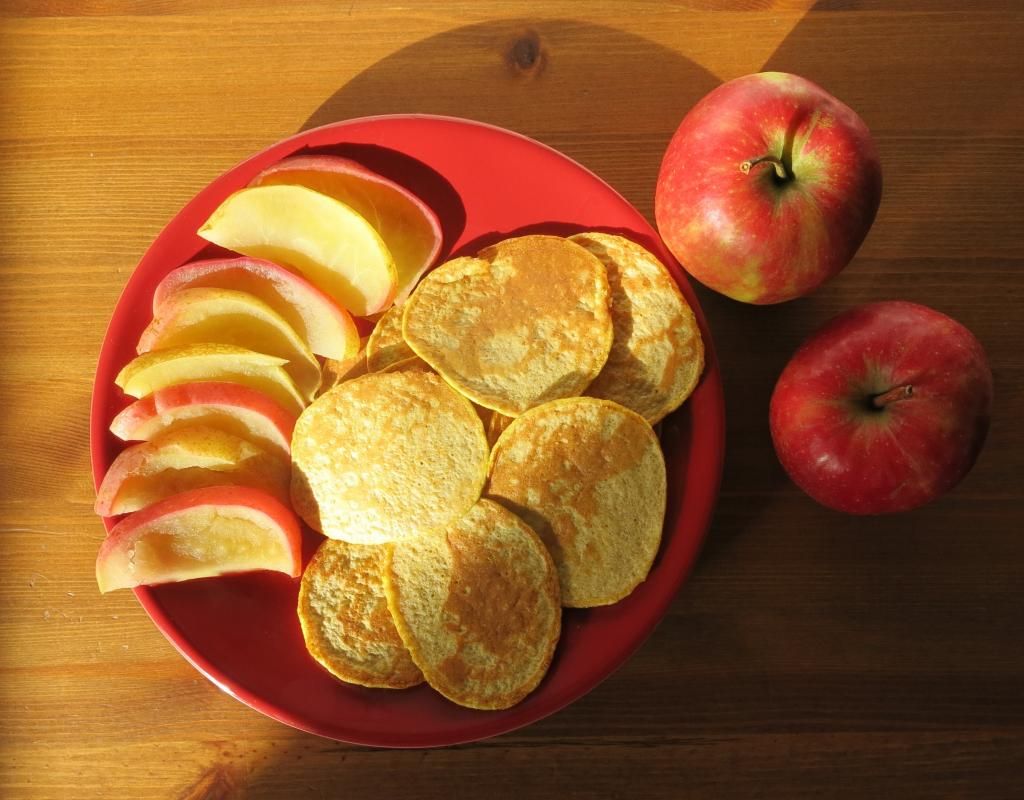
INGREDIENTS:
♥ 80g of cooked buckwheat (preferably organic)
♥ 2 organic free range eggs
♥ Sprinkle of cinnamon
♥ Optional: 1/4 tsp of salt - See more at:
http://nataliasfruitycorner.blogspot.co.uk/search/label/Healthy%20Recipes#sthash.boi03BLi.dpuf
INGREDIENTS:
♥ 80g of cooked buckwheat (preferably organic)
♥ 2 organic free range eggs
♥ Sprinkle of cinnamon
♥ Optional: 1/4 tsp of salt - See more at:
http://nataliasfruitycorner.blogspot.co.uk/search/label/Healthy%20Recipes#sthash.boi03BLi.dpuf
INGREDIENTS:
♥ 80g of cooked buckwheat (preferably organic)
♥ 2 organic free range eggs
♥ Sprinkle of cinnamon
♥ Optional: 1/4 tsp of salt - See more at:
http://nataliasfruitycorner.blogspot.co.uk/search/label/Healthy%20Recipes#sthash.boi03BLi.dpuf
INGREDIENTS:
♥ 80g of cooked buckwheat (preferably organic)
♥ 2 organic free range eggs
♥ Sprinkle of cinnamon
♥ Optional: 1/4 tsp of salt - See more at:
http://nataliasfruitycorner.blogspot.co.uk/search/label/Healthy%20Recipes#sthash.boi03BLi.dpuf
INGREDIENTS:
♥ 80g of cooked buckwheat (preferably organic)
♥ 2 organic free range eggs
♥ Sprinkle of cinnamon
♥ Optional: 1/4 tsp of salt - See more at:
http://nataliasfruitycorner.blogspot.co.uk/search/label/Healthy%20Recipes#sthash.boi03BLi.dpuf
INGREDIENTS:
♥ 80g of cooked buckwheat (preferably organic)
♥ 2 organic free range eggs
♥ Sprinkle of cinnamon
♥ Optional: 1/4 tsp of salt - See more at:
http://nataliasfruitycorner.blogspot.co.uk/search/label/Healthy%20Recipes#sthash.boi03BLi.dpuf


