
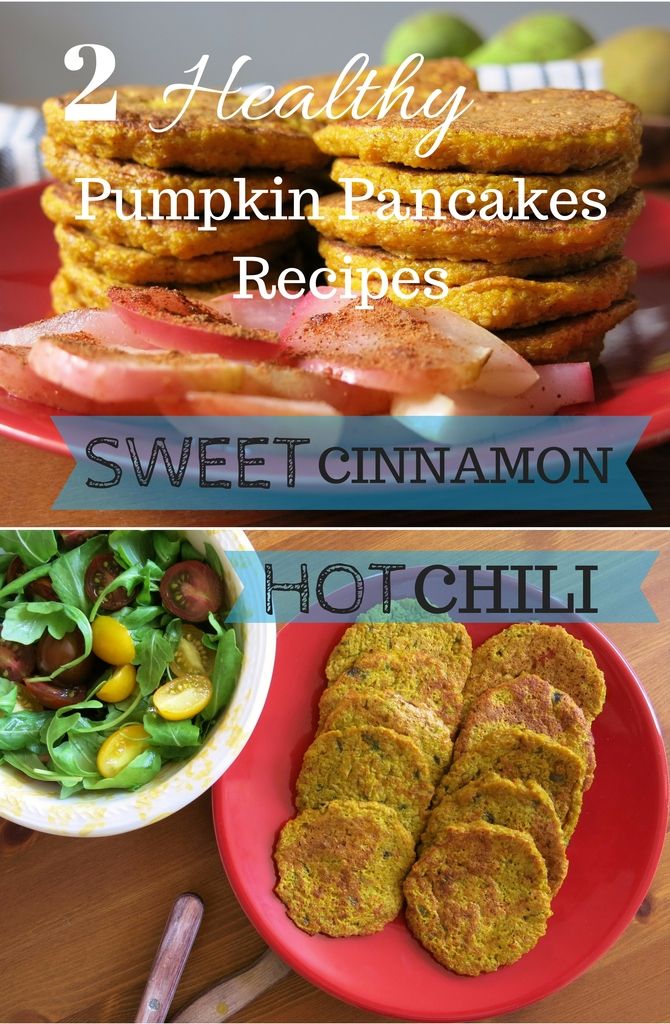
Autumn is all about pumpkins and squashes! These vegetables are very delicious, healthy, immunity boosting and weight loss friendly. There are million ways to eat them, and I want to share with you two of my favorite ones. One is sweet and fluffy for breakfast and one hot and spicy for lunch, dinner or snacking.

These truly health-boosting veggies are also perfect for anyone who wants to lose weight. Their carbohydrate level is very low, so you can enjoy these veggies without any risk of piling up unwanted pounds. They also have a very vibrant rich taste, so enjoyable tasty meals are not compromised! So squashes and pumpkins are definitely an awesome autumn veg choice if you want to become healthier and slimmer!
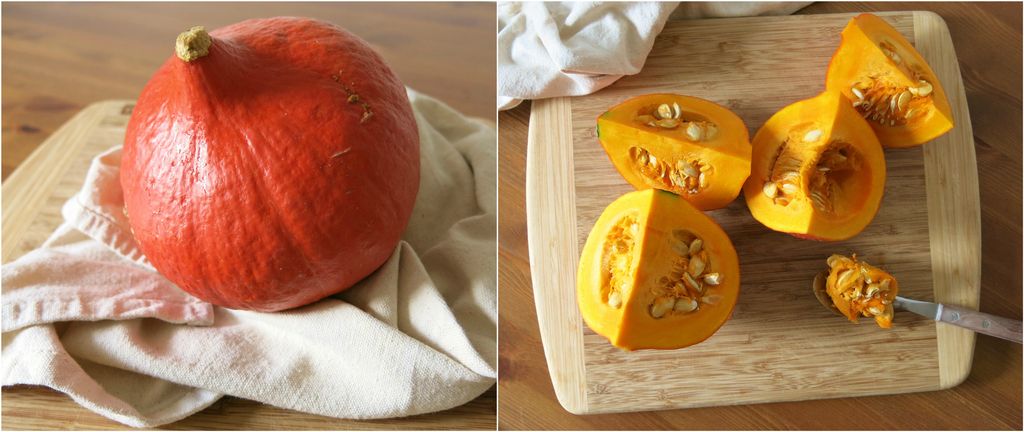
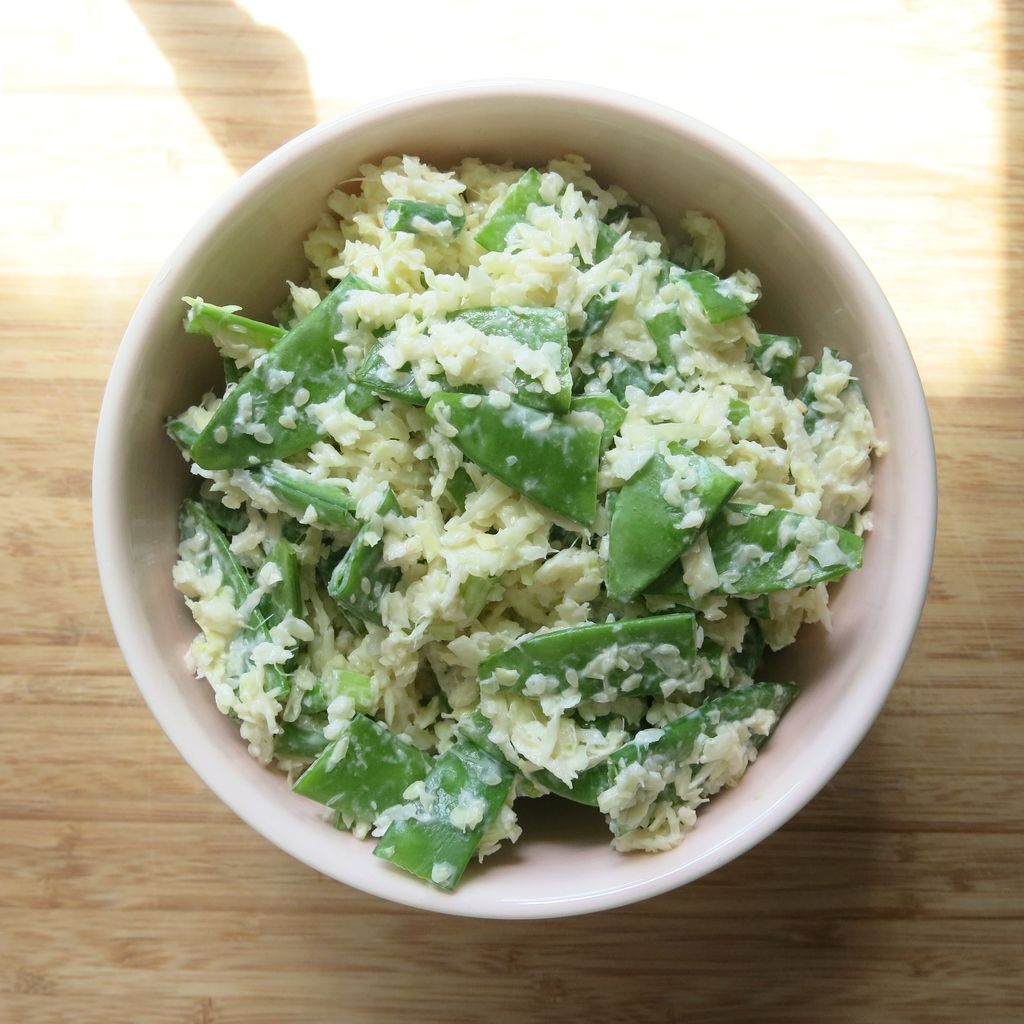
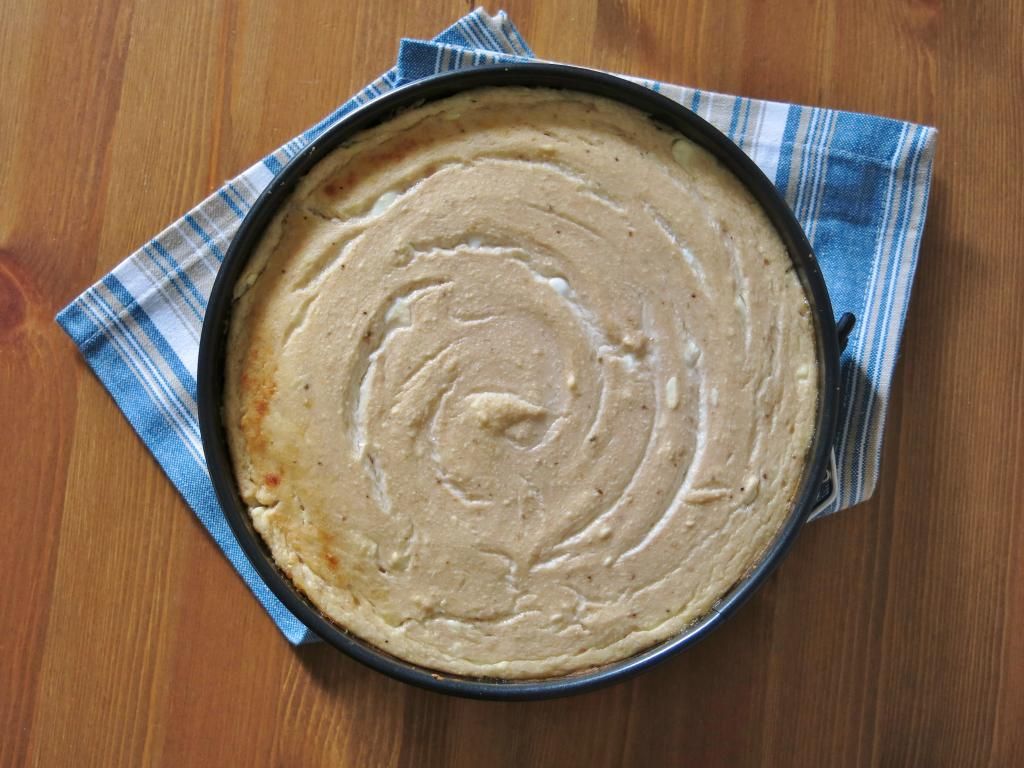
 My personal winner is a Kuri squash (pictured above), which is probably the most delicious and the yummiest squash variety I have ever tried! I am seriously in love with it! And what's more - thanks to London Farmer's Market I can get it fully organic from Wild Country Organics. Definitely pay them a visit, if you're a Londoner. ;)
 This version is amazing for satisfying a sweet tooth without increasing your waist or bum circumference. It is wheat free, refined carb free and sugar free meal. And once you try them you'll discover that none of those are really necessary! Cinnamon does all the magic.
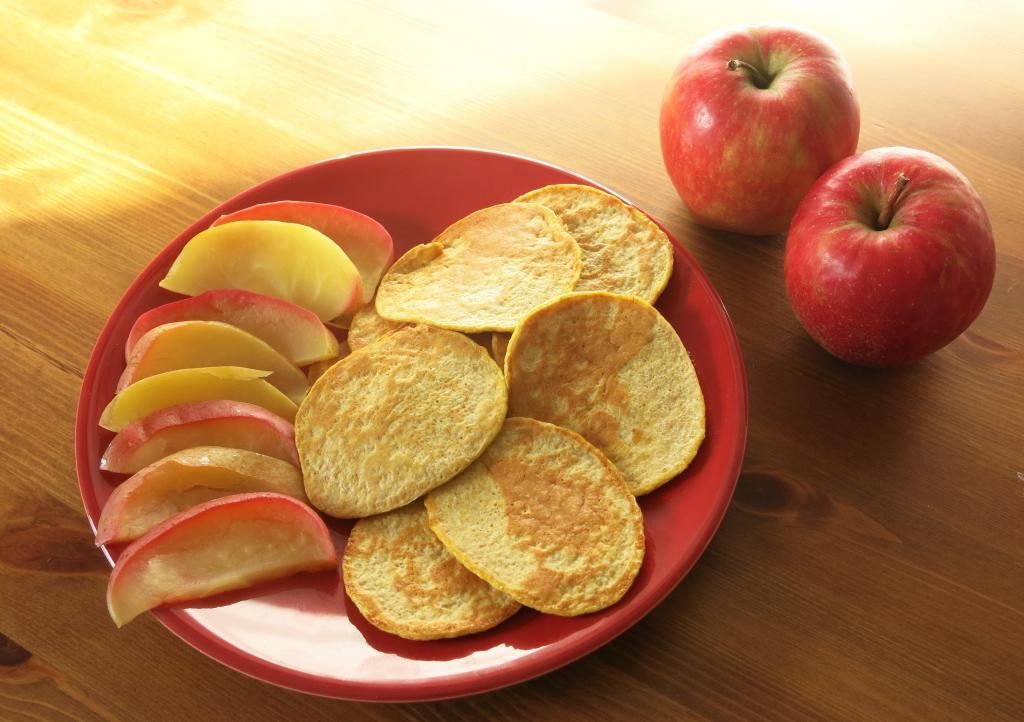
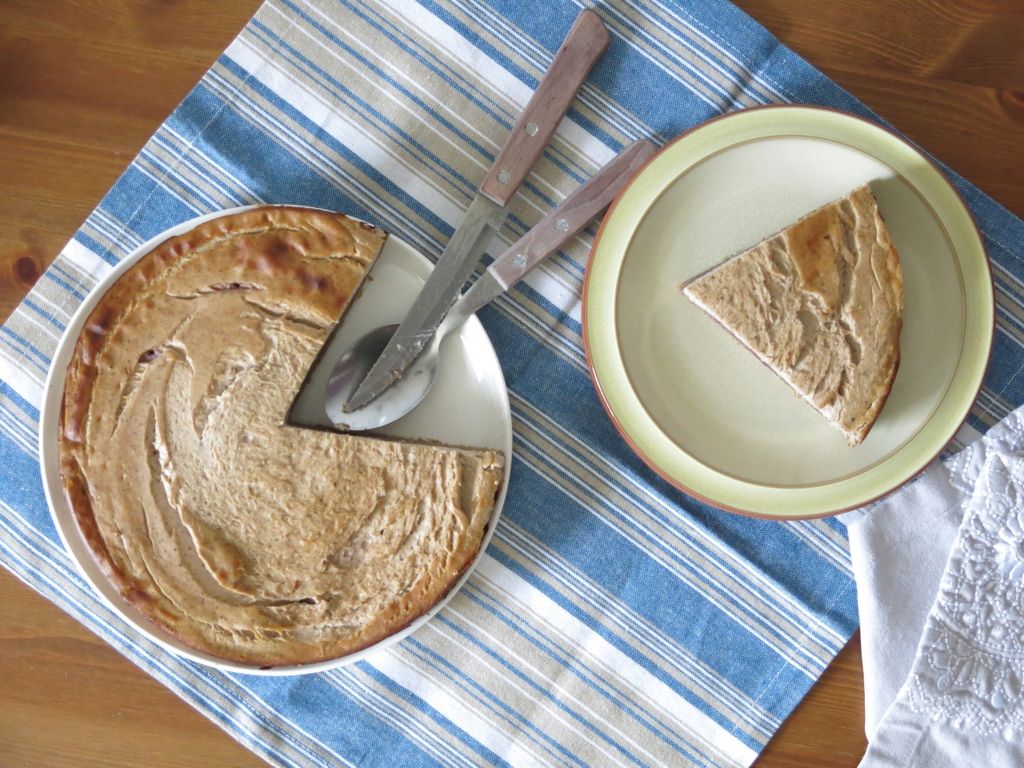
Perfect for that no-rush cozy weekend breakfast.
Ingredients:
(makes approx 23 small pancakes)
♥ 250g pumpkin or quash of your choice (I used Kuri squash), peeled and de-seeded
♥ 70g oat bran
♥ 2 free range organic eggs
♥ 1/2 teaspoon ground cinnamon
♥ optional: 1/2 teaspoon all spice
♥ 1/2 teaspoon of baking soda and few drops of organic apple cider vinegar
♥ optional: some salt
♥ non-stick pan and some olive oil
Method:
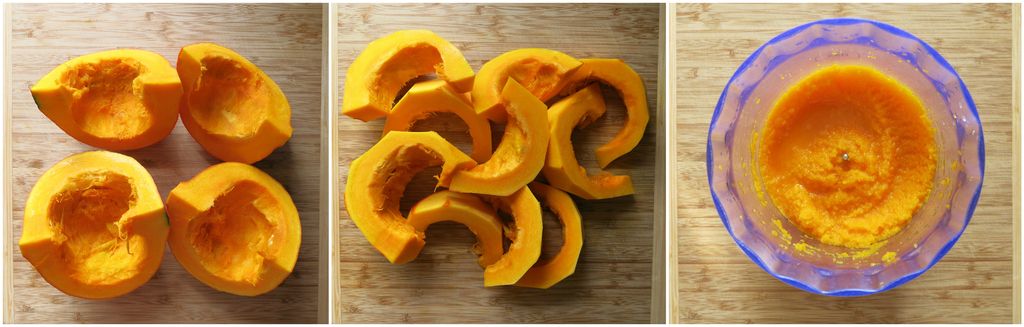
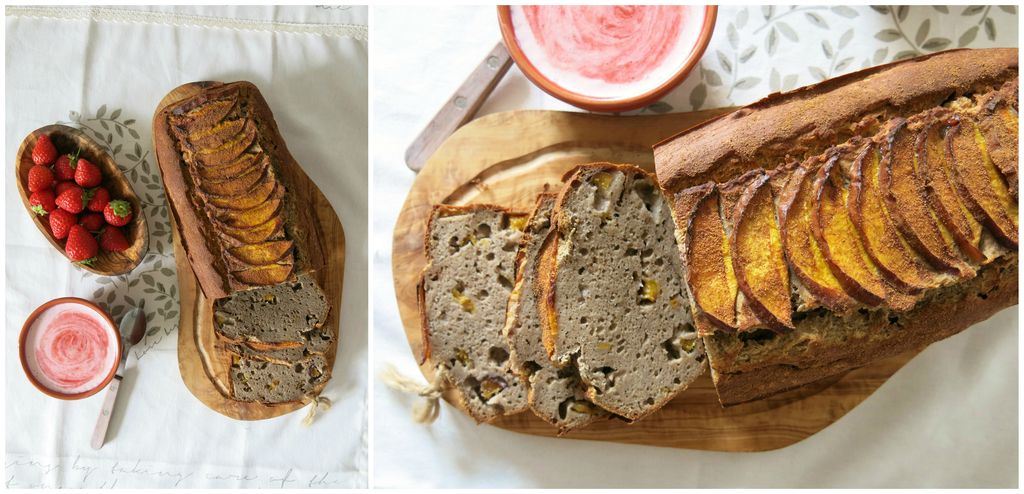
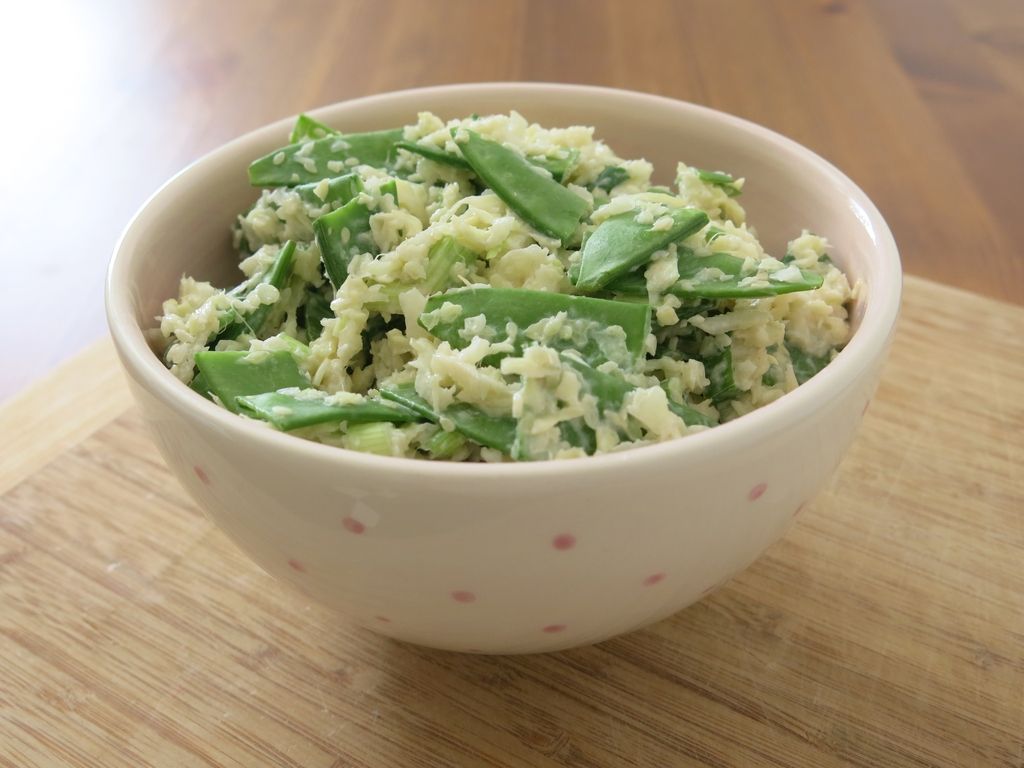
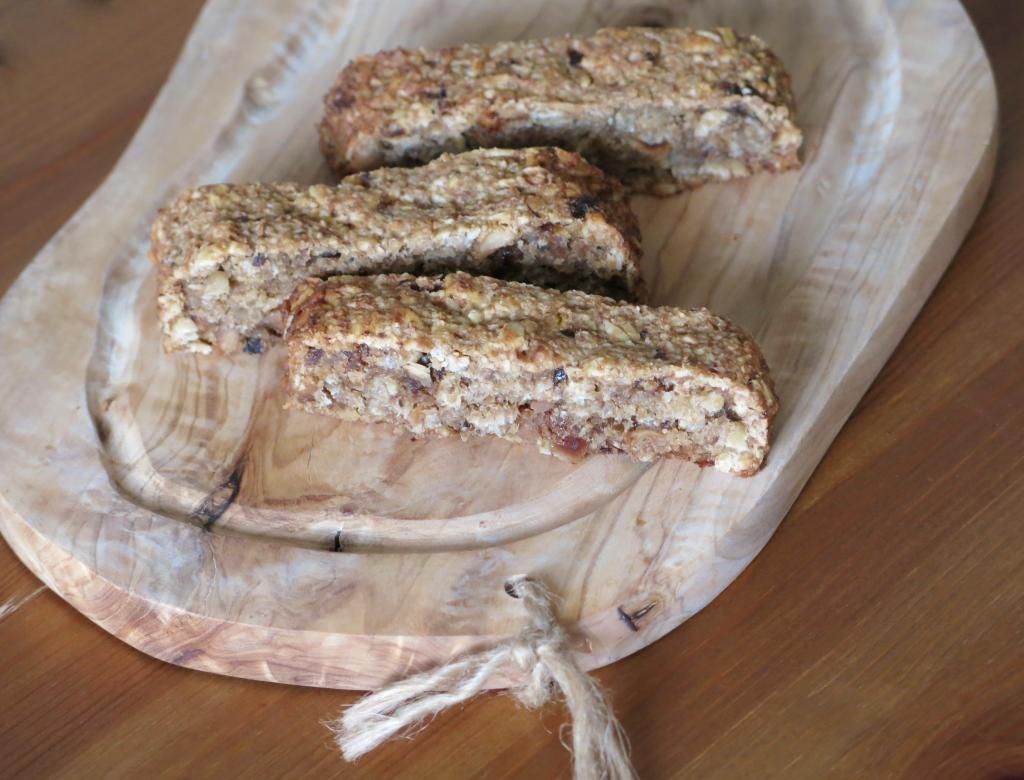
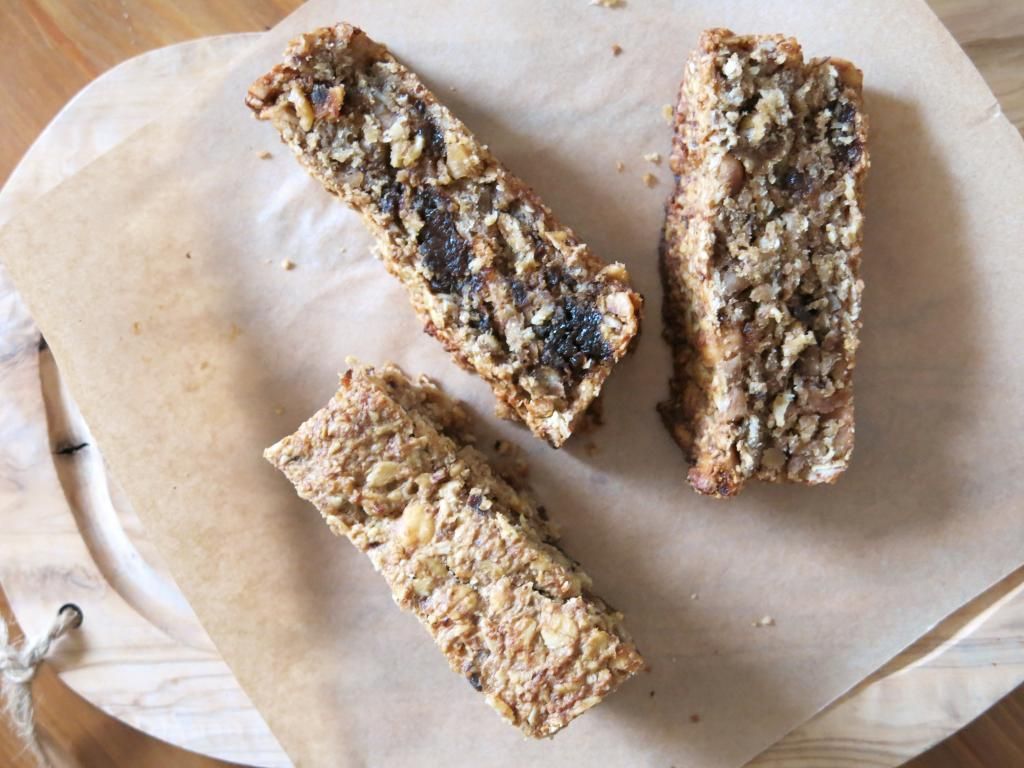
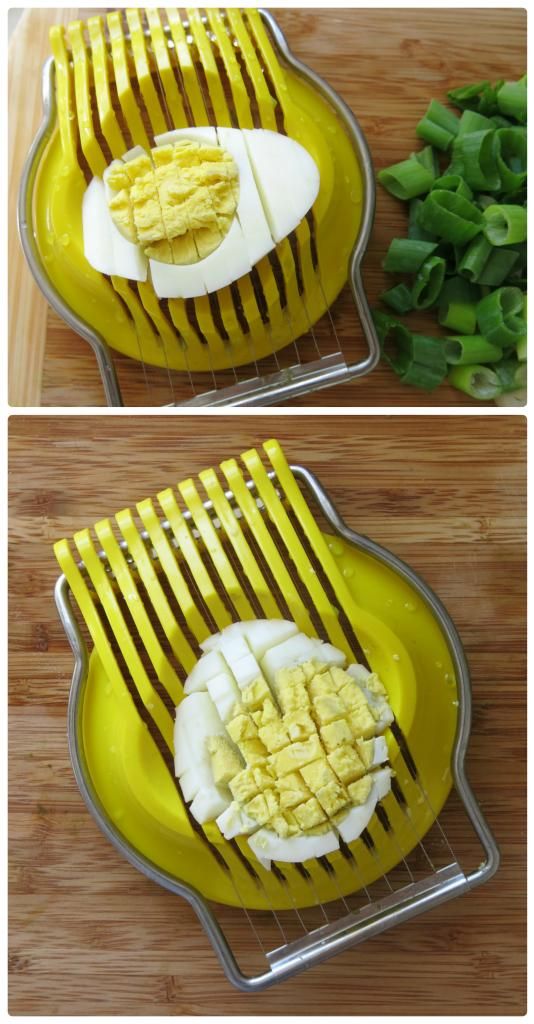
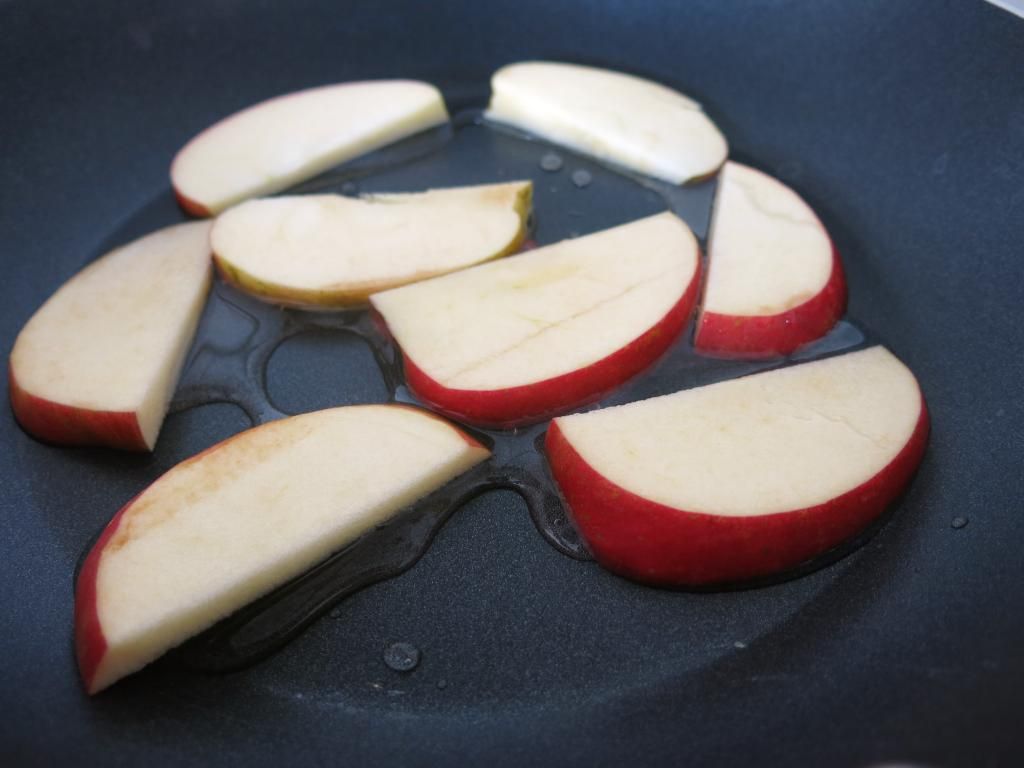
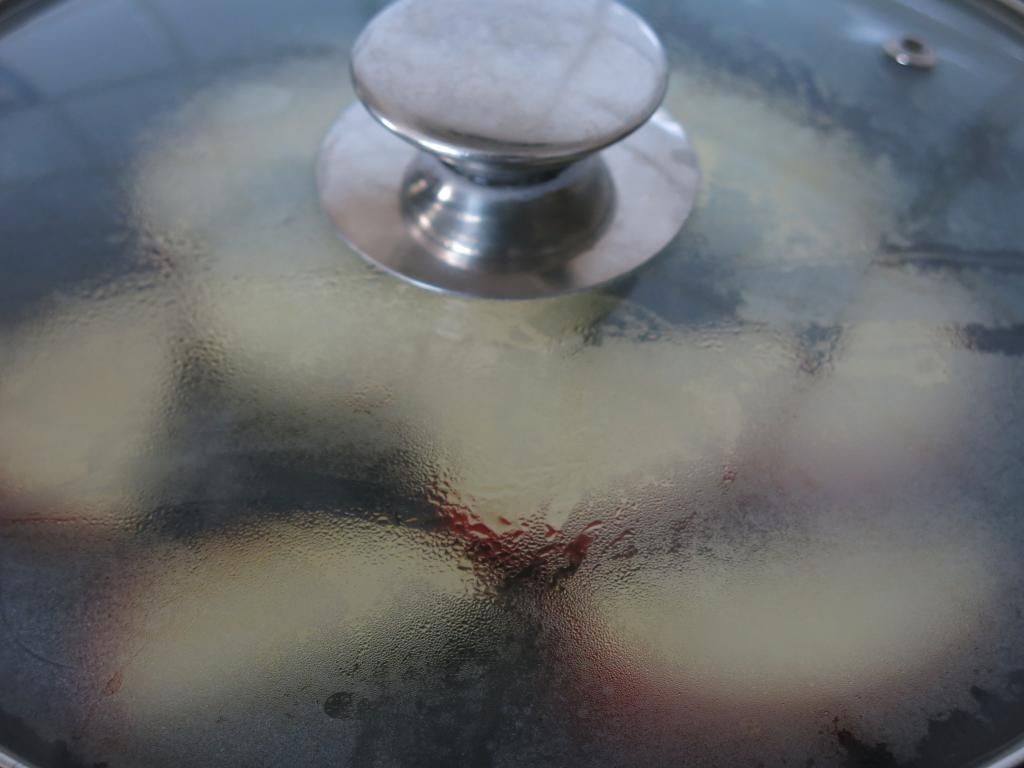
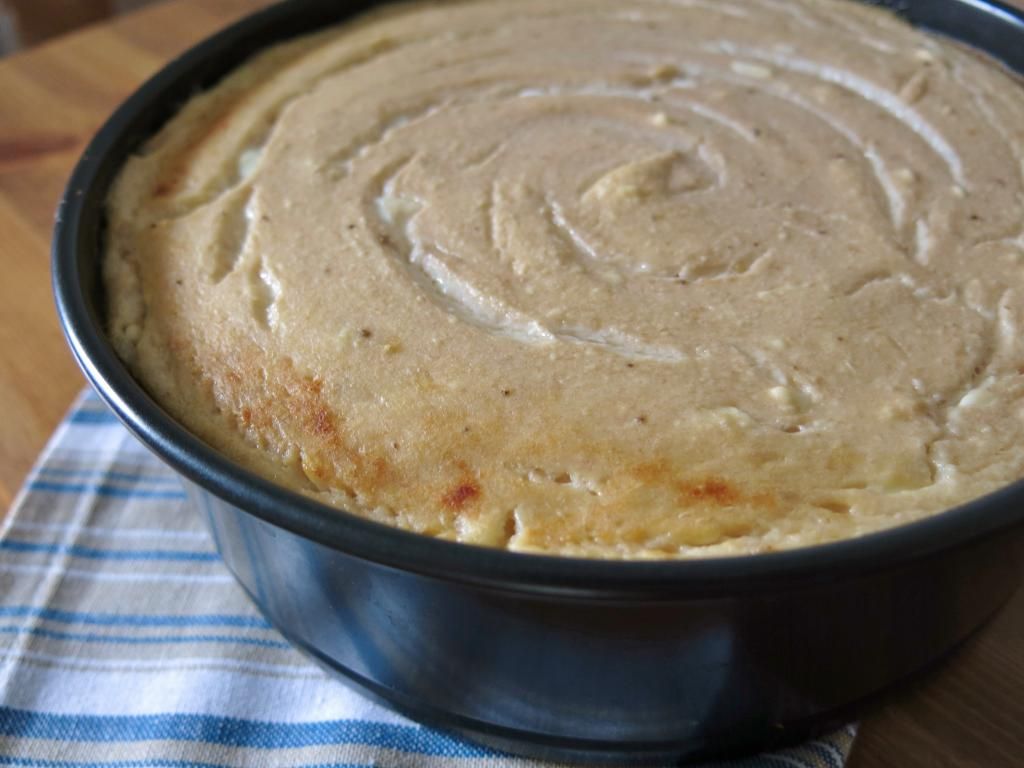
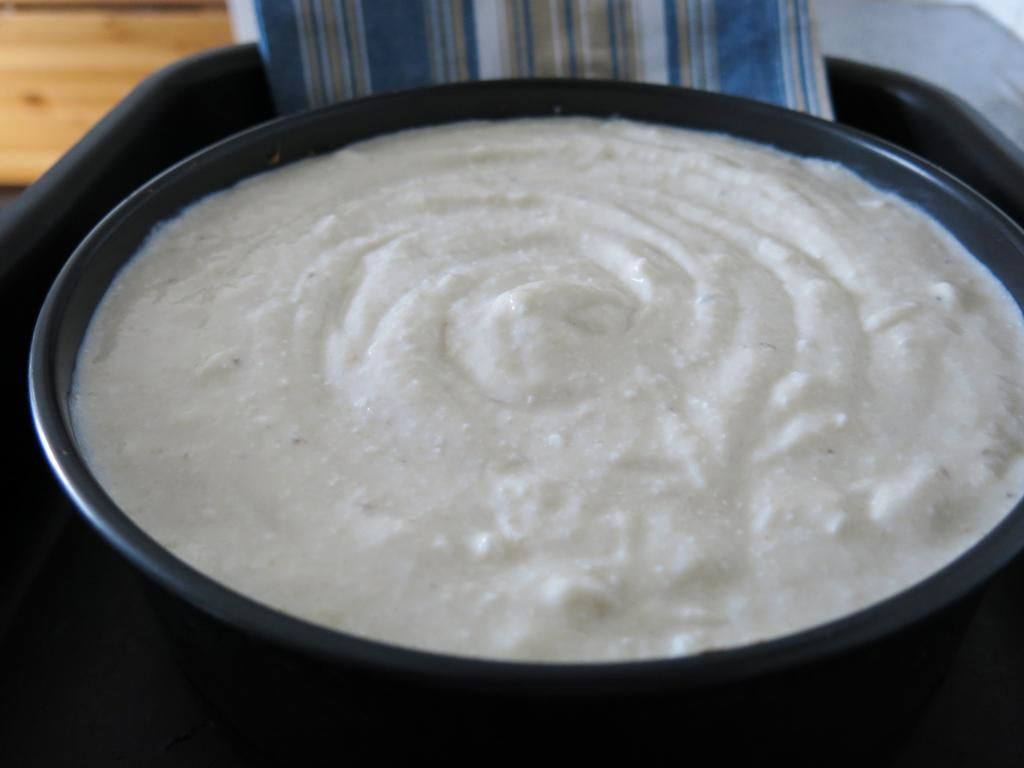
1. Make a puree. You can make it after steaming slices as those on the second picture. However, as I like to cook veg as little as possible I decided to make an experiment. I cut these slices into smaller ones, threw them into a chopper (any food processor or blender will do the job just as fine), added some filtered water and voila! The taste of the pancakes was a also bit richer if you make a puree from raw squash.
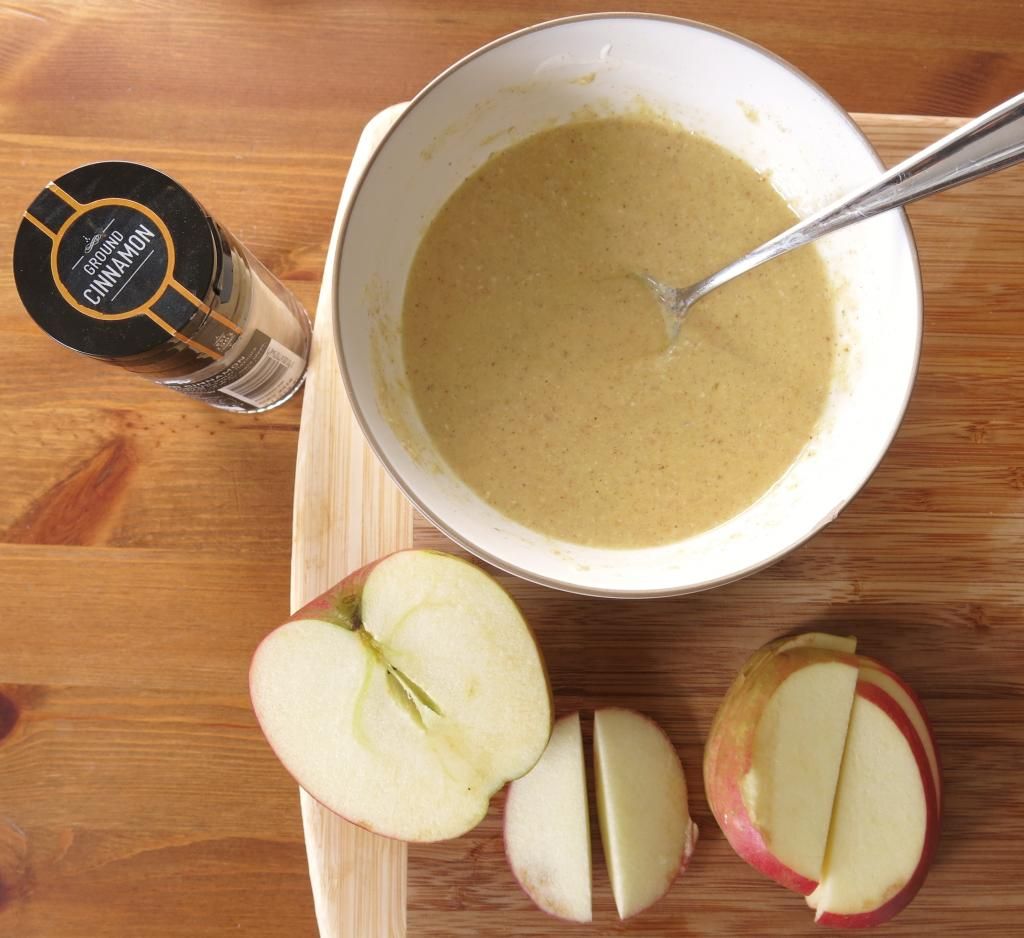
 2. Transfer your squash or pumpkin puree into a medium bowl.
3. Here's what I do to make the pancakes extra tender. I take 1/2 teaspoon of baking soda and add a few drops of apple cider vinegar. The soda will start to bubble and foam. Don't be alarmed, this is what suposed to happen. Count to 8 and stir it in.
4. Add cinnamon, oat bran, eggs and salt if using. Mix all ingredients well.
5. Heat a non-stick frying pan. Grease with 1/2 tablespoon olive oil.
6. Fry with a covered lid for 2 minutes on one side, and them for 1 minute of the other.
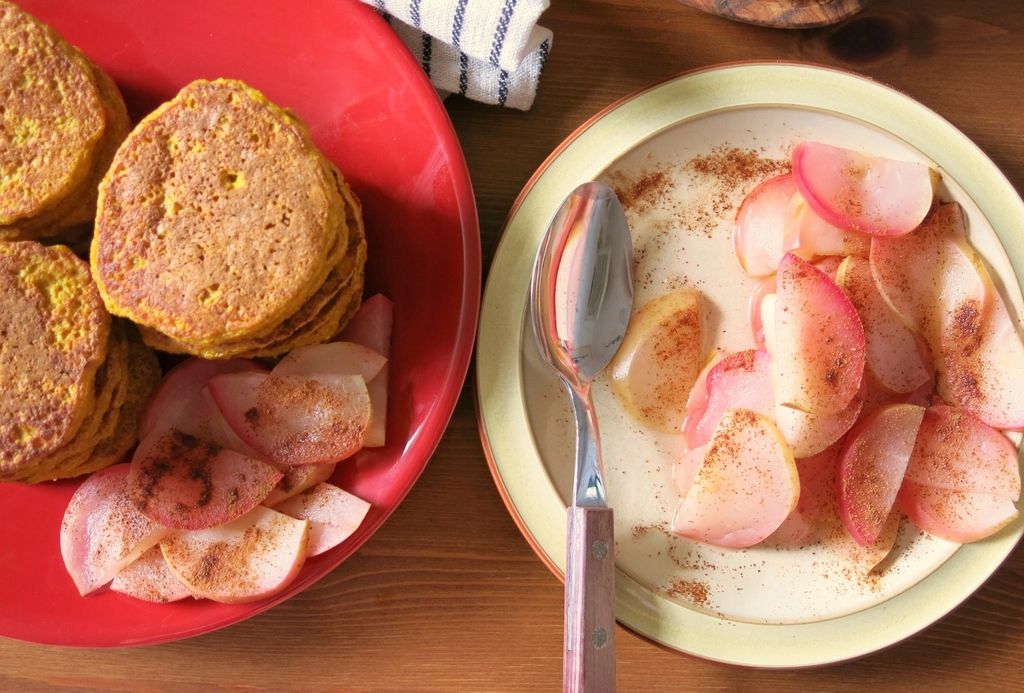
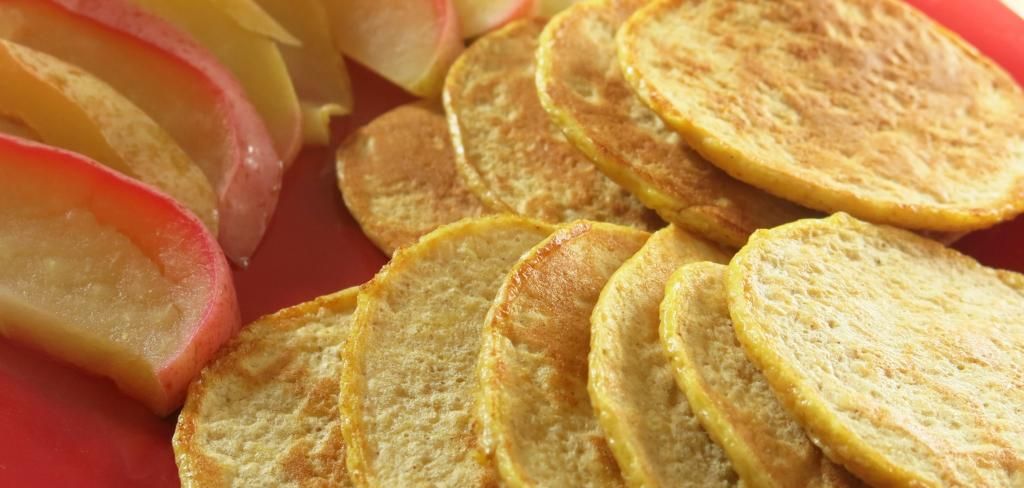
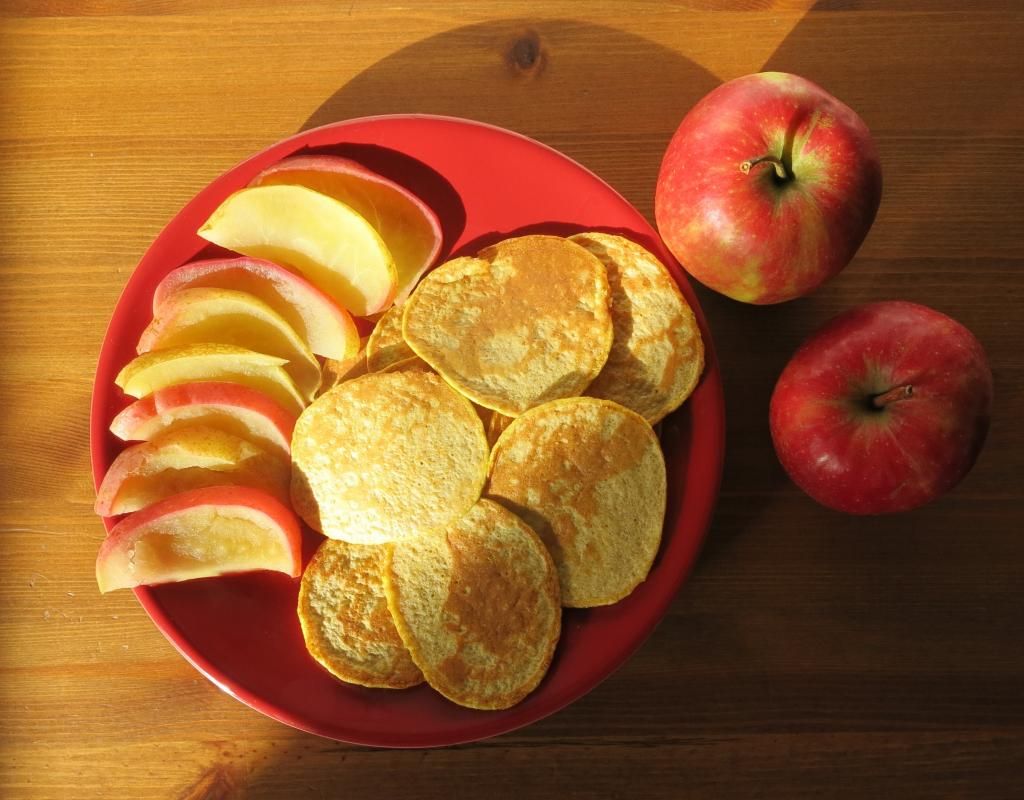
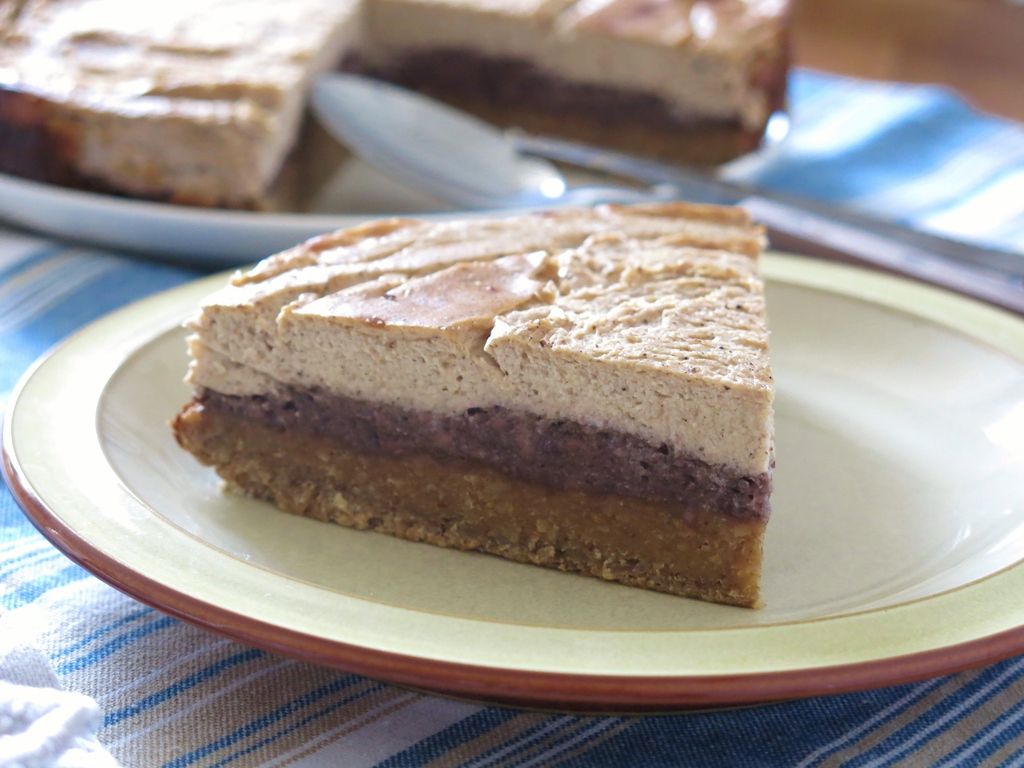
 Serve with lightly steamed apples sprinkled with ground cinnamon.
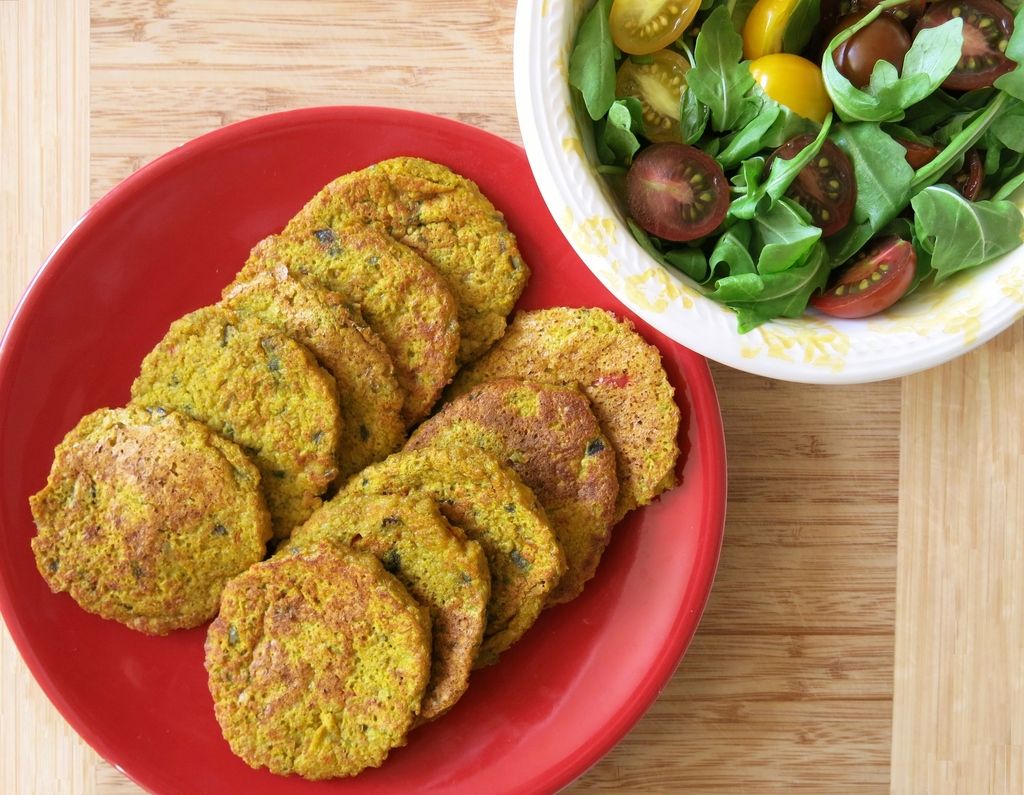
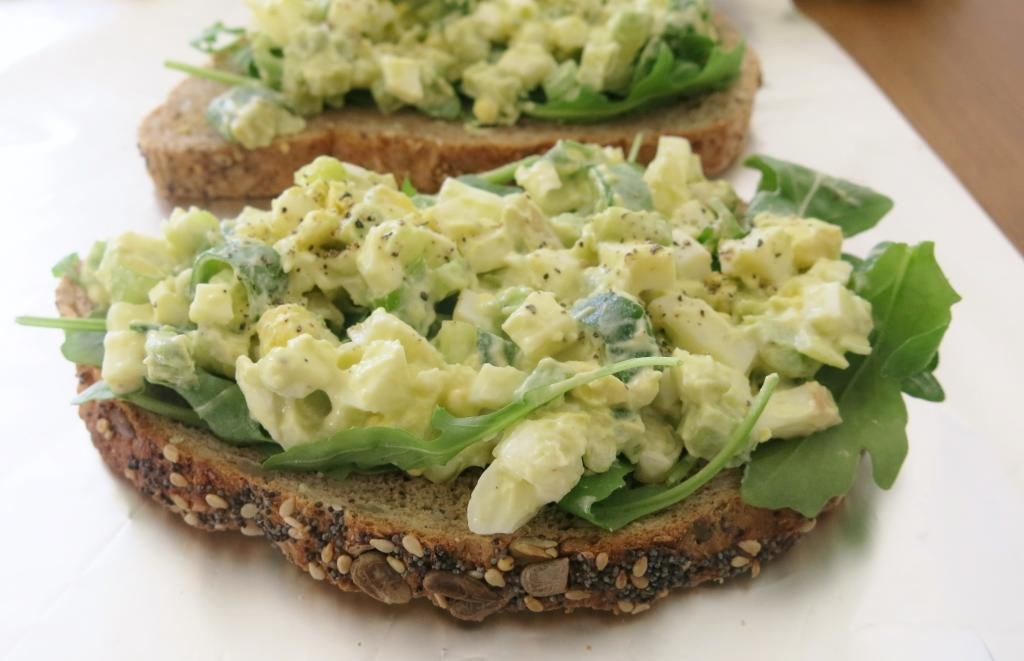
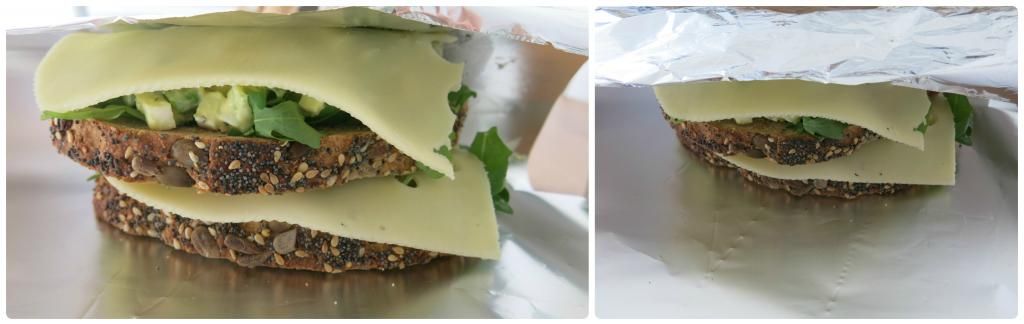
 These pancakes go amazingly well with fresh vegetable salad, yogurt, beans, chicken. They taste amazing when you spread cottage cheese or put avocado or low fat cheese slices on top of them. They are light yet satisfying and if you're ever in a situation when you dine late, these are a perfect option! Also I always make loads of these pancakes well ahead, cause they are amazing both hot and cold and do an amazing job in being a quick snack.
Ingredients:
(makes approx 20 small pancakes)
♥ 250g pumpkin or quash of your choice (I used Kuri squash), peeled and de-seeded
♥ 85g oat bran
♥ 2 free range organic eggs
♥ 1/2 teaspoon of baking soda and few drops of organic apple cider vinegar
♥ 1/2 large red onion
♥ 1 red chili pepper, deseeded
♥ optional: some salt
♥ non-stick pan and some olive oil
Method:
1. Finely chop onion and red chili in a chopper or food processor. Transfer to a medium bowl.
2. Make a pumpkin or squash puree.
3. Transfer your pumpkin or squash puree into the bowl with chopped onion and chili.
4. Slake soda, by adding few drops of vinegar onto a 1/2 teaspoon baking soda. Count to 15 and stir it in your puree.
5. Add oat bran, eggs and salt if using. Mix all ingredients well.
5. Heat a non-stick frying pan. Grease with 1/2 tablespoon olive oil.
6. Fry with a covered lid for 2,5 minutes on one side, and them for 1,5 minute of the other.
 A small afterword...


What's so special about squashes and pumpkins?
A little intro. The bright yellow and orange flesh of these wonderful autumn vegetables is essentially beta-carotene in action. Beta-carotene is converted into an active vitamin A in your body, which is a very powerful antioxidant and one of those valuable fat-soluble vitamins many of us are often deficient in. Vitamin A plays a huge role in keeping us healthy. It boosts and maintains immunity, our ability to fight infections and even reduces the risk of some cancers. Vitamin A is essential for maintaining healthy skin, bones, eyes, brain and reproductive system. Squashes and pumpkin also contain Vitamin C, potassium as well as calcium, iron, and magnesium.
These truly health-boosting veggies are also perfect for anyone who wants to lose weight. Their carbohydrate level is very low, so you can enjoy these veggies without any risk of piling up unwanted pounds. They also have a very vibrant rich taste, so enjoyable tasty meals are not compromised! So squashes and pumpkins are definitely an awesome autumn veg choice if you want to become healthier and slimmer!
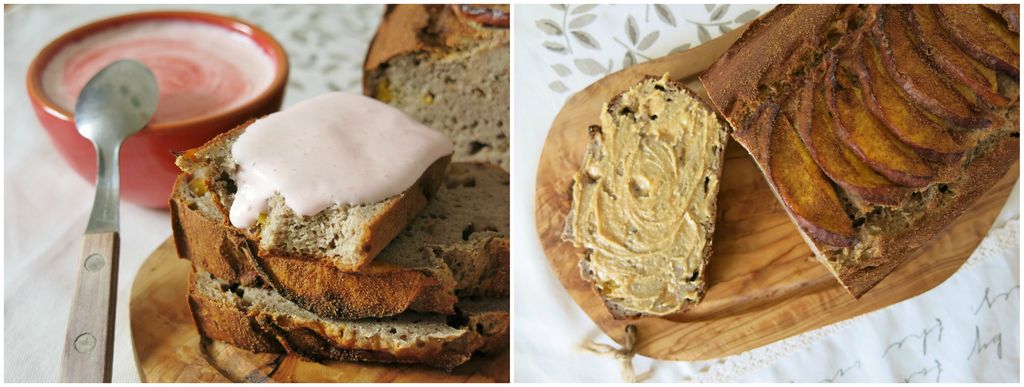
Sweet Cinnamon Pumpkin Pancakes
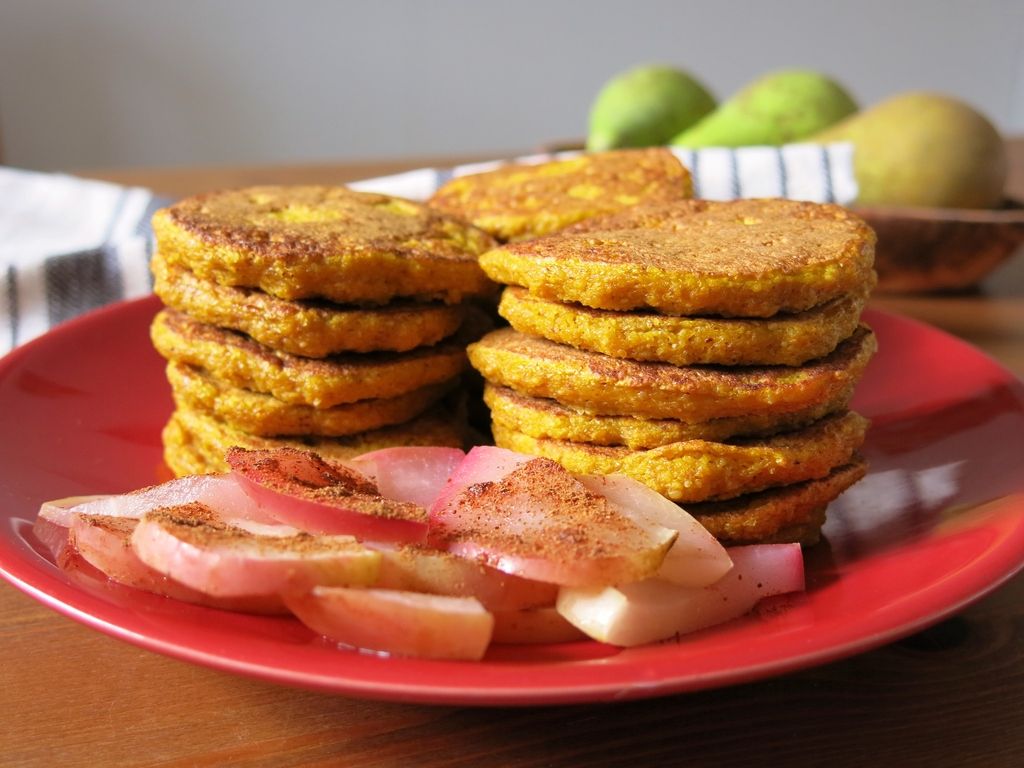 This version is amazing for satisfying a sweet tooth without increasing your waist or bum circumference. It is wheat free, refined carb free and sugar free meal. And once you try them you'll discover that none of those are really necessary! Cinnamon does all the magic.
Perfect for that no-rush cozy weekend breakfast.
Ingredients:
(makes approx 23 small pancakes)
♥ 250g pumpkin or quash of your choice (I used Kuri squash), peeled and de-seeded
♥ 70g oat bran
♥ 2 free range organic eggs
♥ 1/2 teaspoon ground cinnamon
♥ optional: 1/2 teaspoon all spice
♥ 1/2 teaspoon of baking soda and few drops of organic apple cider vinegar
♥ optional: some salt
♥ non-stick pan and some olive oil
Method:
1. Make a puree. You can make it after steaming slices as those on the second picture. However, as I like to cook veg as little as possible I decided to make an experiment. I cut these slices into smaller ones, threw them into a chopper (any food processor or blender will do the job just as fine), added some filtered water and voila! The taste of the pancakes was a also bit richer if you make a puree from raw squash.
3. Here's what I do to make the pancakes extra tender. I take 1/2 teaspoon of baking soda and add a few drops of apple cider vinegar. The soda will start to bubble and foam. Don't be alarmed, this is what suposed to happen. Count to 8 and stir it in.
4. Add cinnamon, oat bran, eggs and salt if using. Mix all ingredients well.
5. Heat a non-stick frying pan. Grease with 1/2 tablespoon olive oil.
6. Fry with a covered lid for 2 minutes on one side, and them for 1 minute of the other.
Hot Chili Pumpkin Pancakes
Ingredients:
(makes approx 20 small pancakes)
♥ 250g pumpkin or quash of your choice (I used Kuri squash), peeled and de-seeded
♥ 85g oat bran
♥ 2 free range organic eggs
♥ 1/2 teaspoon of baking soda and few drops of organic apple cider vinegar
♥ 1/2 large red onion
♥ 1 red chili pepper, deseeded
♥ optional: some salt
♥ non-stick pan and some olive oil
Method:
1. Finely chop onion and red chili in a chopper or food processor. Transfer to a medium bowl.
2. Make a pumpkin or squash puree.
3. Transfer your pumpkin or squash puree into the bowl with chopped onion and chili.
4. Slake soda, by adding few drops of vinegar onto a 1/2 teaspoon baking soda. Count to 15 and stir it in your puree.
5. Add oat bran, eggs and salt if using. Mix all ingredients well.
5. Heat a non-stick frying pan. Grease with 1/2 tablespoon olive oil.
6. Fry with a covered lid for 2,5 minutes on one side, and them for 1,5 minute of the other.
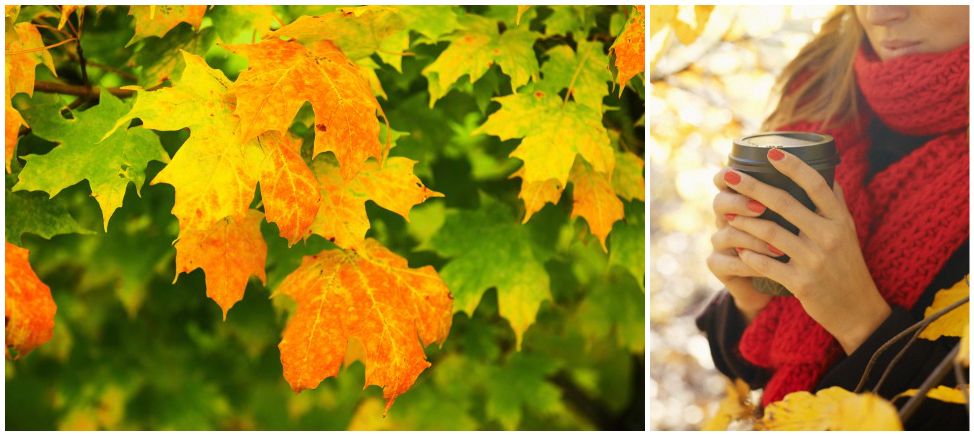
I used to hate autumn when I was a teen and the thought of summer coming to an end made me literally deeply melancholic. That was the case for many years, until one year I have finally decided to break that cycle. I decided to try to see the beauty of autumn season instead of focusing that the summer was gone. I realised I enjoyed the fresh crisp air. My morning run was actually times easier and more refreshing than in summer. I loved it! I loved the bright colours of foliage, longer evenings with new enjoyable activities, for example, rejoining with a family when it rained outside. Exciting new clothes to wear and different make up and hair trends, when dark lips and deep bright colours are so in. New delicious fruit, veg and yummy meals to cook. I learned to appreciate it all and shame I didn't do it earlier! I think I now love autumn more than summer! If you are just like I used to be, oh well I hear you... But try to find what you could enjoy, brainstorm, maybe even look for ideas by asking your friends or Google for inspiration. Don't deprive yourself from an opportunity to enjoy these cold months and be happy. Life goes on and it is beautiful! Go live and embrace every moment! xx


